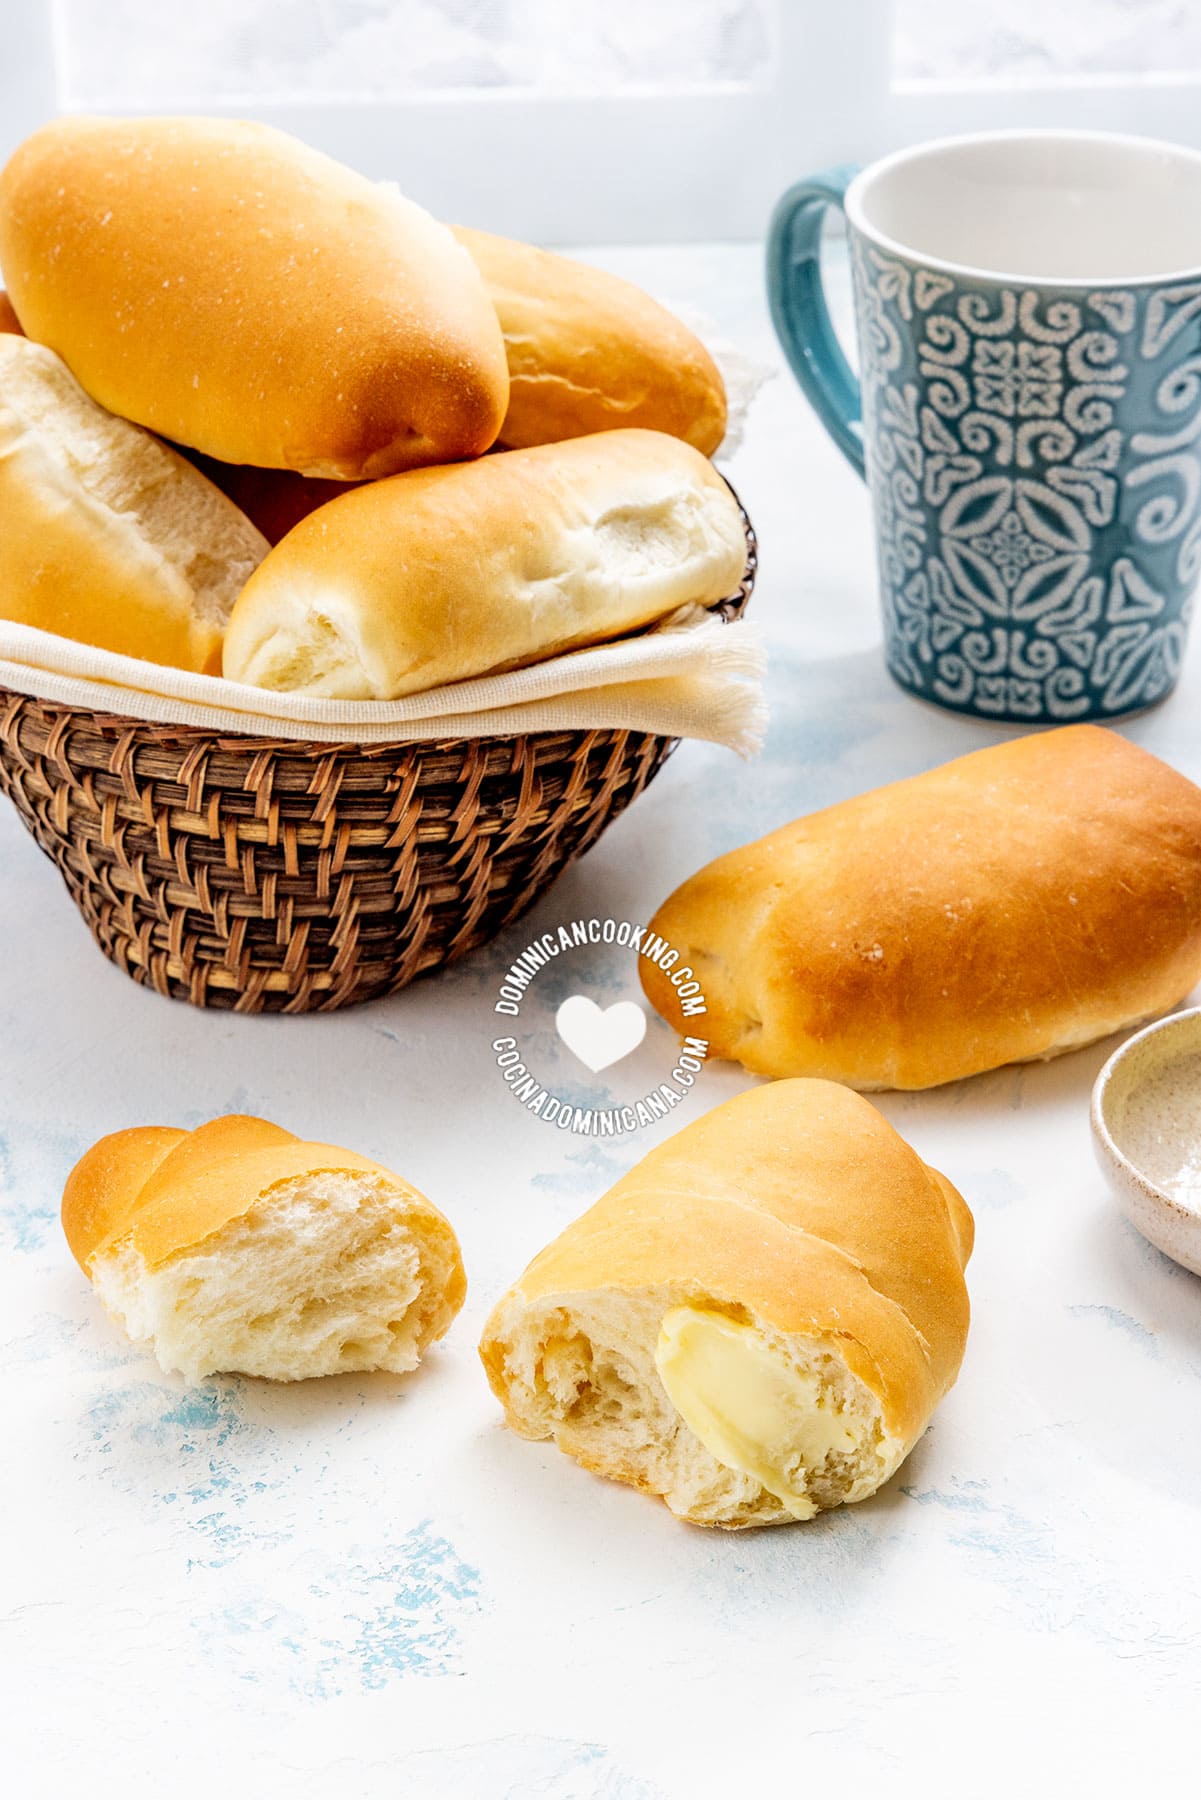
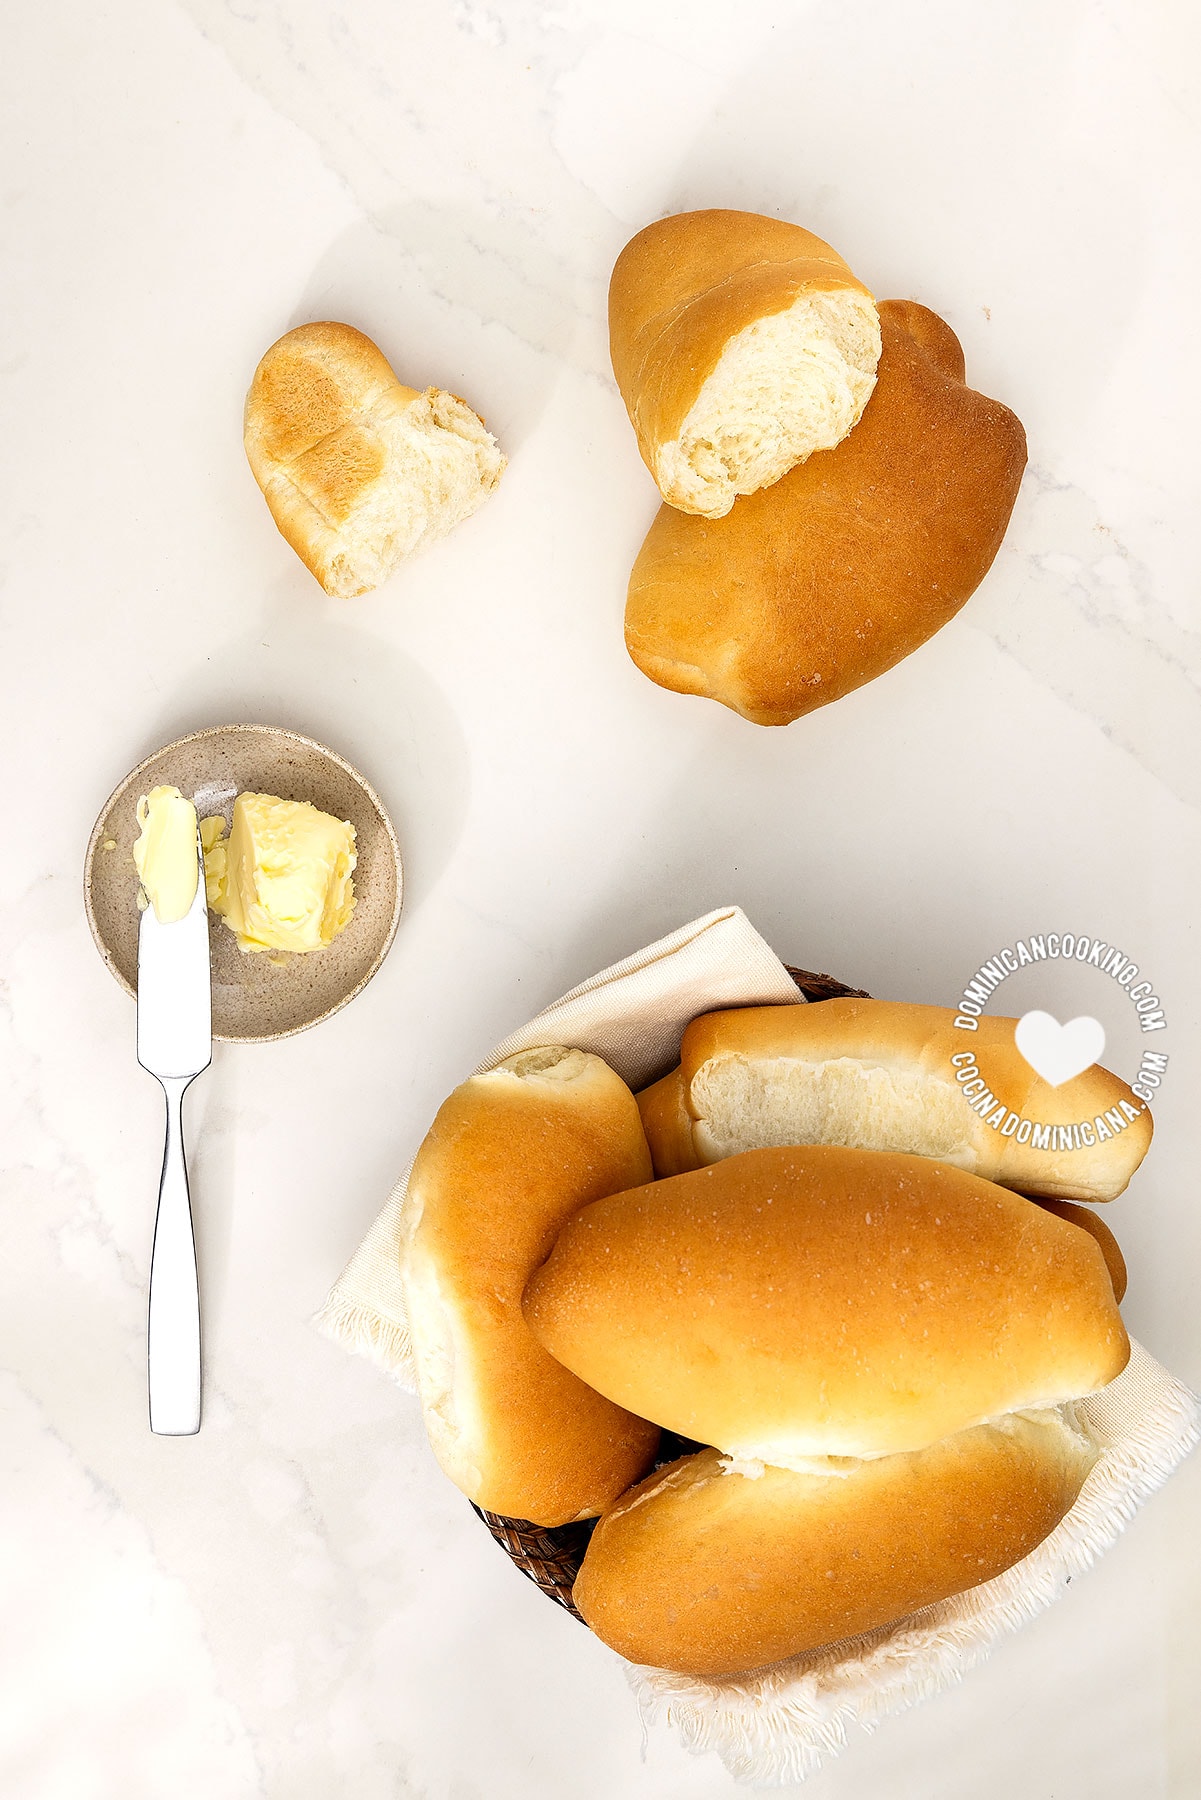
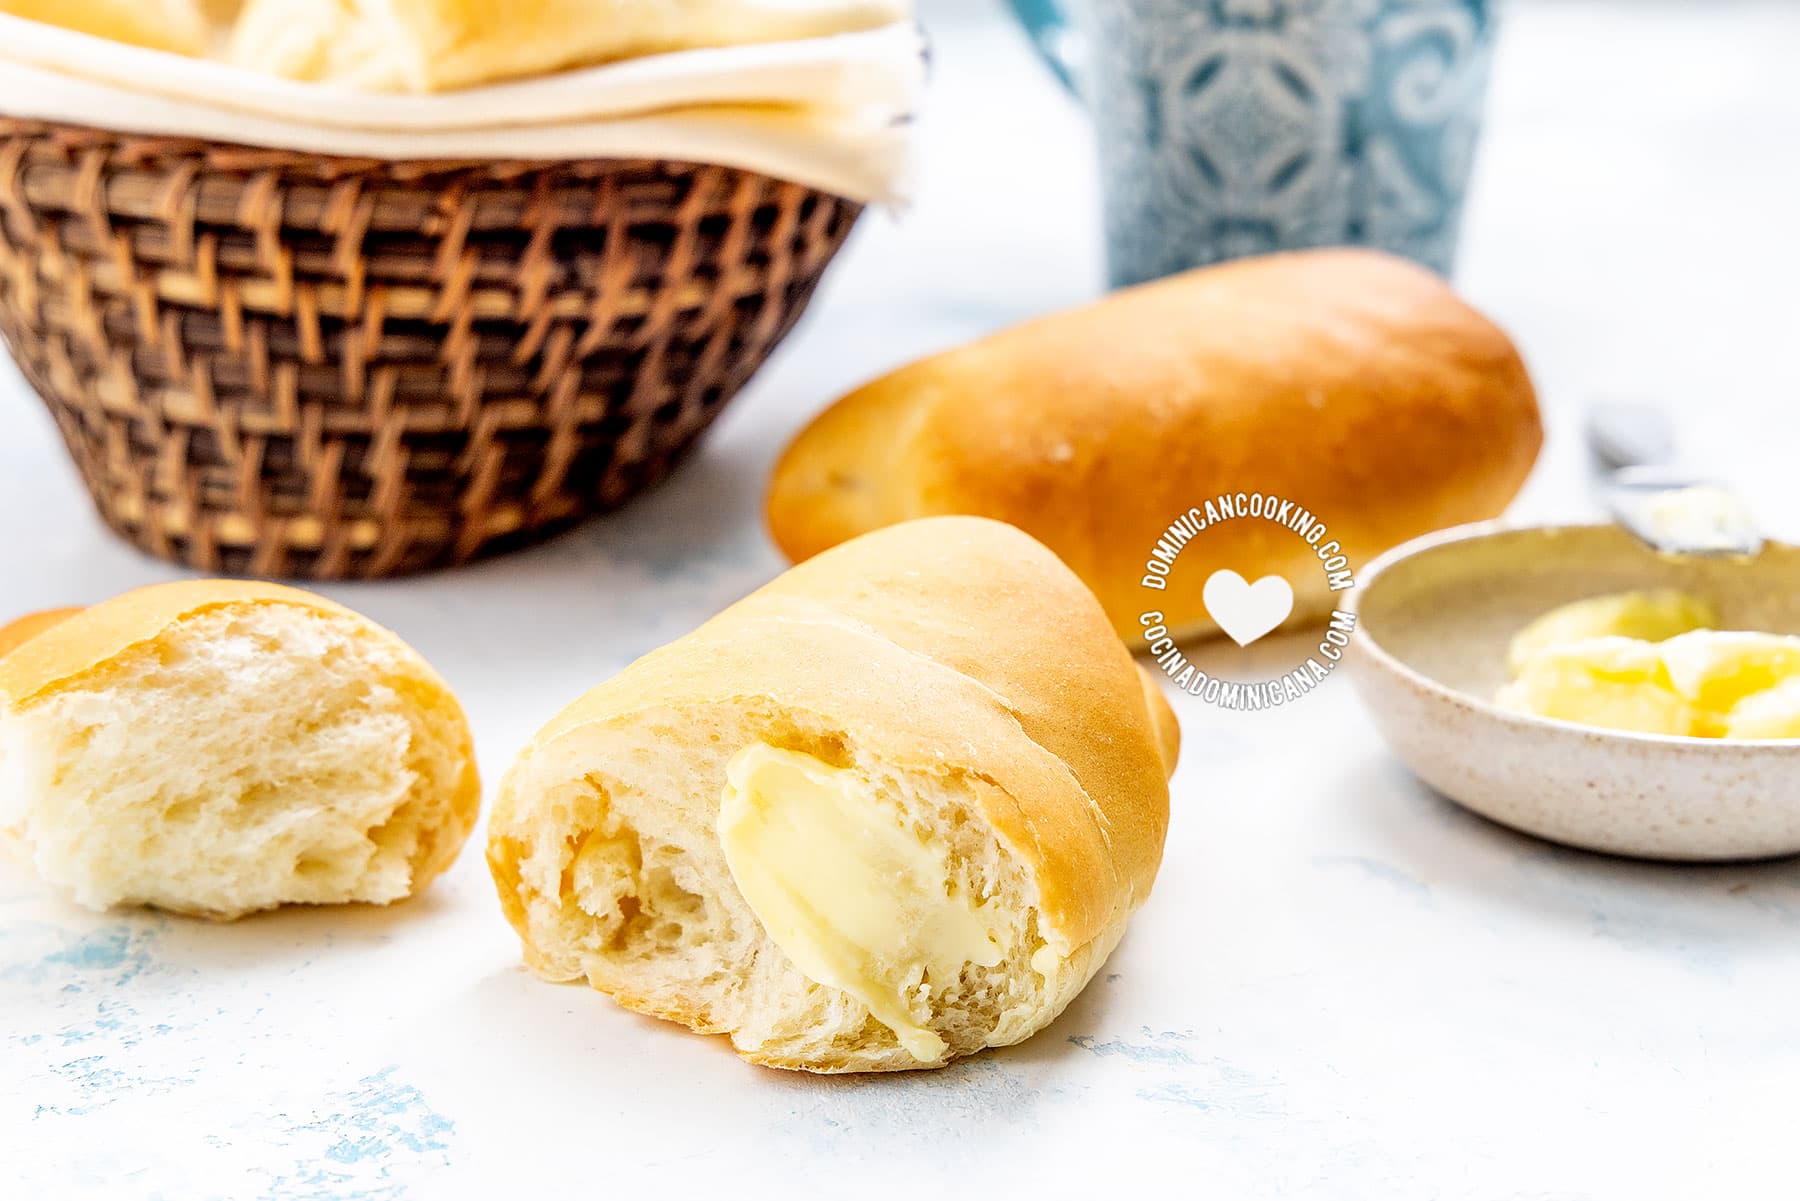
Pan Sobao or Pan Sobado is one of the most emblematic breads of Dominican gastronomy, and a must at the breakfast table. It is a white bread with a golden crust and elastic and very soft crumb. It is versatile and can be toasted, eaten plain, or made into tasty sandwiches.
By - Reviewed: . Original: 23 Feb 2024
Why we ❤️ it
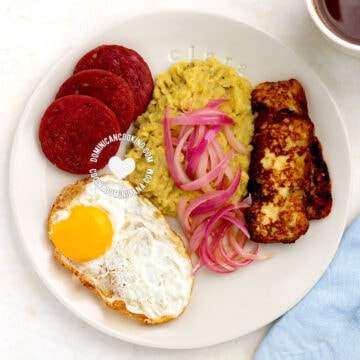
Pan sobao bread has a neutral but tasty flavor, which makes it ideal for making a delicious sandwich, spread with butter at breakfast, or eaten with a cup of coffee or hot chocolate.
Its soft texture and versatility make it one of my favorite breads.
Pan de agua vs Pan sobao
Pan sobao is a bread enriched with milk, butter, and eggs, which gives it a softer and spongier texture. Pan de agua, on the other hand, is made with very little fat, or even no fat at all, which makes it a more rustic and light bread, more similar to French bread.
Pan sobao bread, because it contains these additional ingredients, has the advantage of lasting longer and softer than Pan de agua bread.
Why is it called "sobao"?
The name "sobao" derives from the way it is made, by passing it through a "sobadora" or "laminadora", which is a machine with two cylinders that stretches the dough as a rolling pin would. The dough is passed through the cylinders, stretched, then folded and passed through the sobadora again, repeating this process several times.
The rolling process helps to develop the gluten in the flour more quickly, making it softer, more elastic, and stretchier.
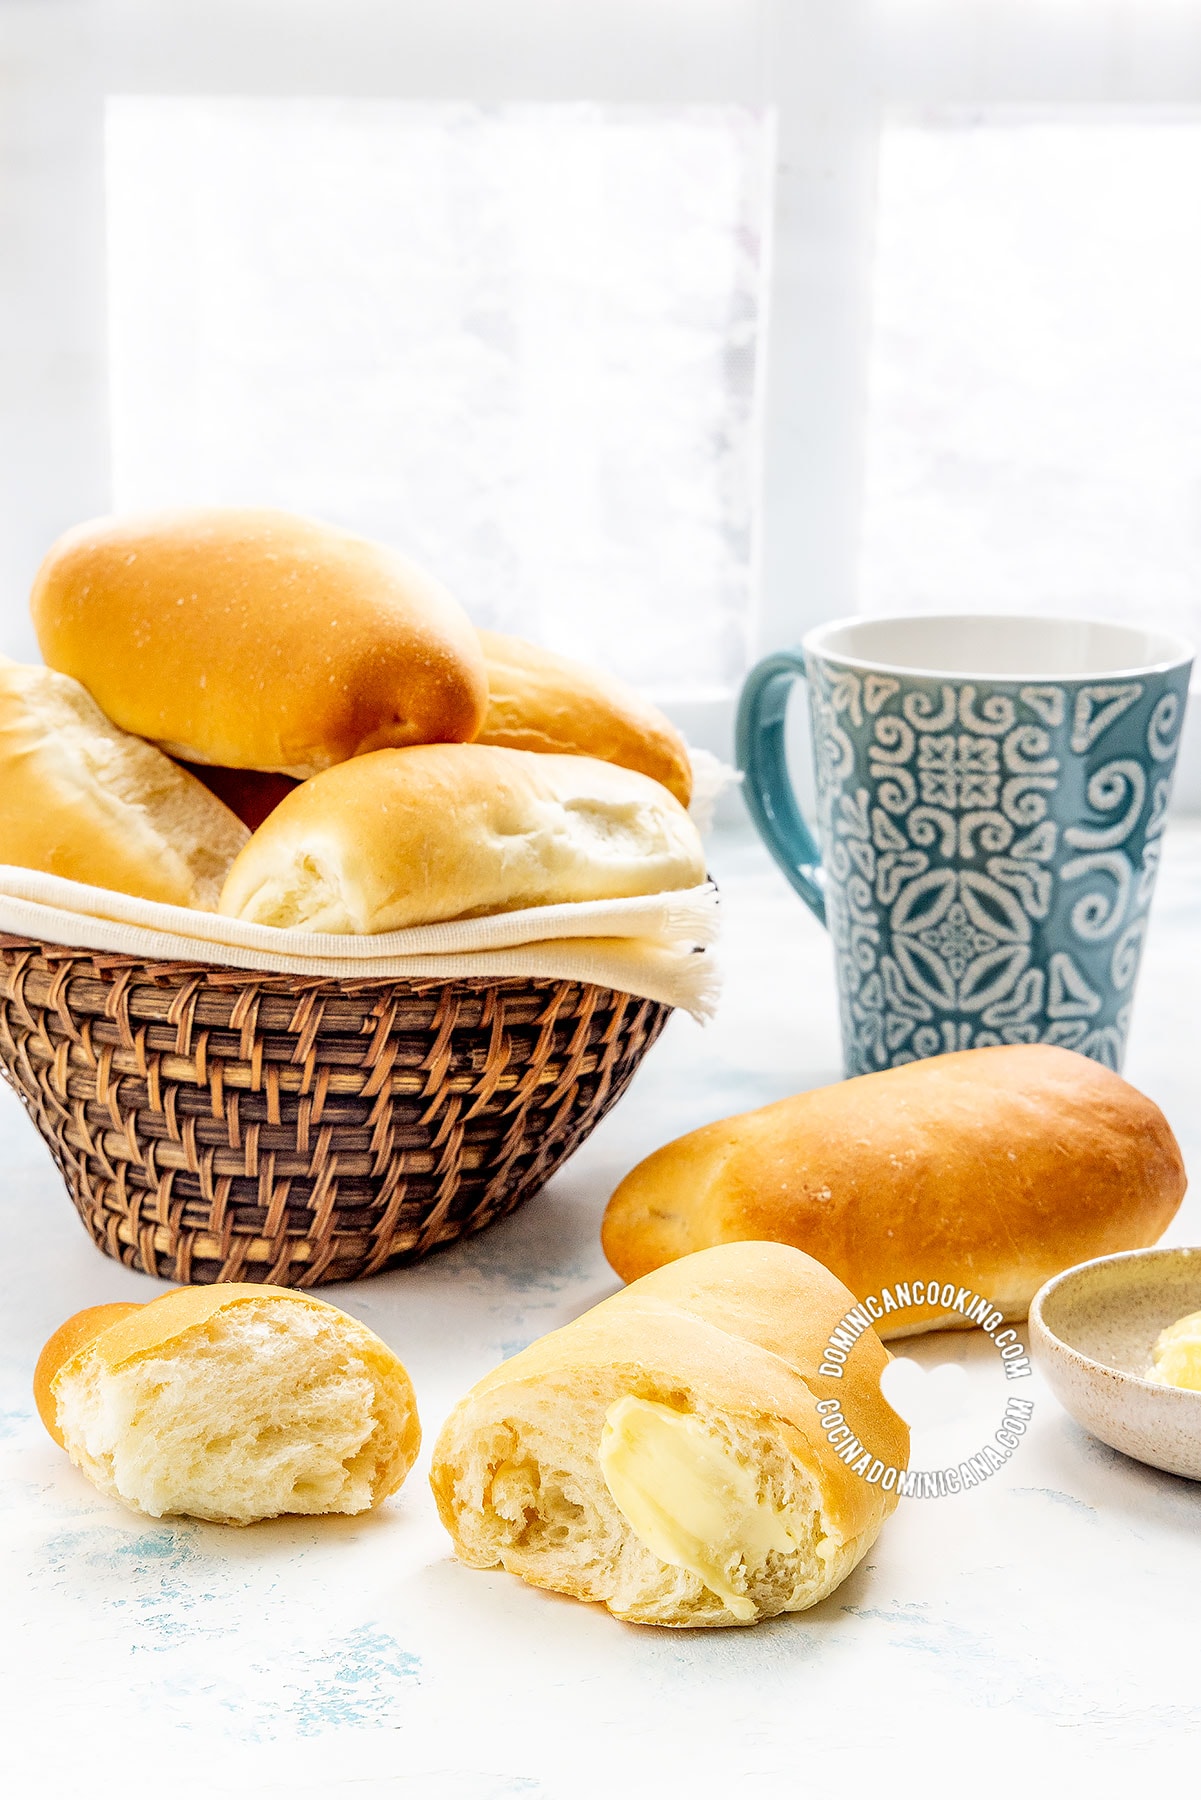
Serving suggestions
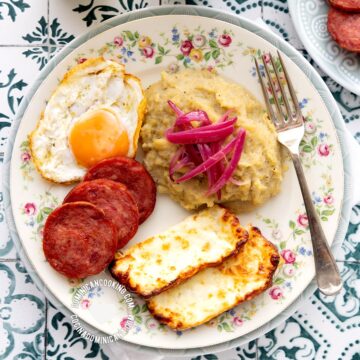
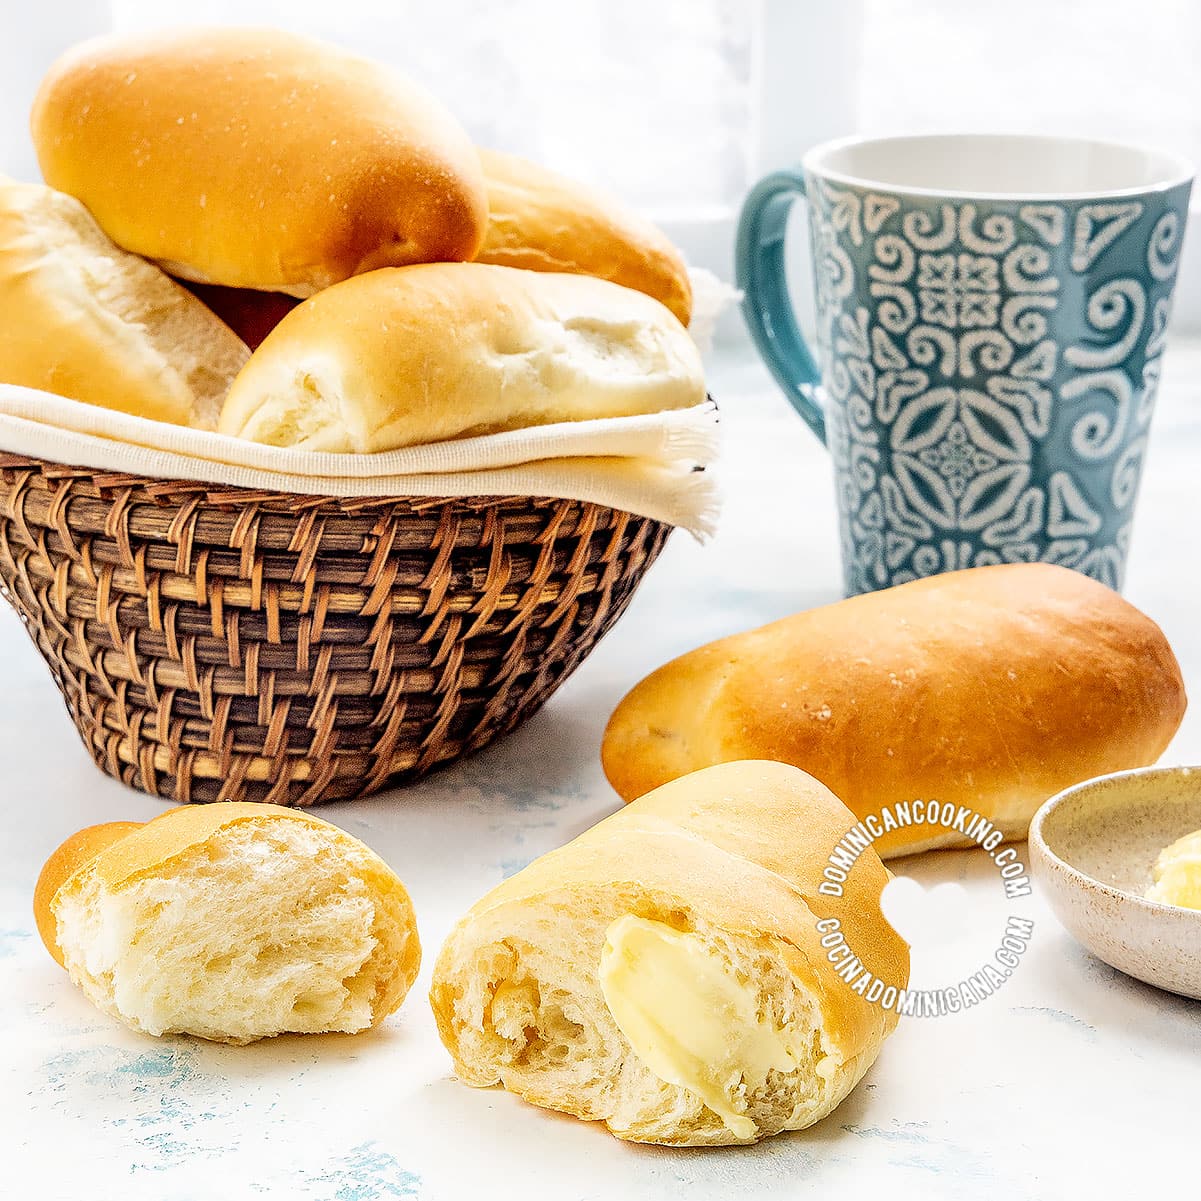
This bread can be eaten fresh, just out of the oven, or when it has cooled down, and can be enjoyed fresh, straight from the oven, or once it has cooled. It's perfect with Dominican coffee, Café con leche, Avena caliente, and any of our hot drinks for breakfast.
You can prepare cold or toasted sandwiches, eat on its own, with butter, with jam, with avocado. You can fill it with ham and cheese (Sandwich de jamón y queso), pork roast (like Sandwich de pierna), or corned beef. Depending on the shape you give it, it can be used as a Dominican hot dog or hamburger bun.
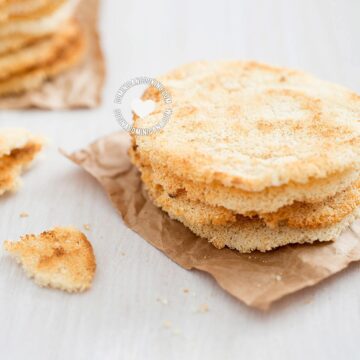
Baked potato and serrano croquettes.
Top tips
- Yeast freshness: You must use fresh yeast. It's not worth wasting your time if you don't have fresh yeast, the bread will be dense and too sweet since the yeast has to eat the sugar to leaven the bread.
- Margarine: Commercially, it is usually made with margarine, but butter gives it a better flavor. In this recipe, you can substitute the butter for the same amount of margarine, lard, or vegetable oil of neutral flavor.
- Eggs: You can make it without eggs, replacing them with the same amount of their weight with water or milk. The texture will be a little less smooth and with a less golden color.
- Milk: Milk adds softness and color to the bread, but you can substitute it for the same amount of water or another type of milk, such as almond or soy milk.
- Convection oven: To bake in this type of oven, reduce the temperature to 325 °F (162 °C) and check the bread before the time suggested in the recipe, when it has been baked for 18 minutes.
- Air fryer: The air fryer is a convection oven, so you can bake in it. Reduce the temperature to 325 °F (162 °C) and watch the cooking time; check starting at 18 minutes. The limitation of air fryers is the number of buns that can be baked at the same time.
- Removing from the oven: The bread will have a rich aroma and its surface will be golden brown. When you hold it, it will feel light. To be more precise, when measured with a thermometer its internal temperature should be 180°F to 190°F (82°C-88°C).
- Fermentation: The ideal temperature for fermentation of bread dough is between 75 °F - 79 °F (24 °C - 26 °C). Yeast dies at temperatures above 140 °F (60 °C).
If you live in a country where the ambient temperature is above 26 °C (79 °F), I recommend using all cold ingredients, especially water and milk. If your ambient temperature is above 35 °C (95 °F), put your dough to ferment in the refrigerator or do it in an air-conditioned place.
On the other hand, if you live in a cold place, the dough will take longer to ferment. If the ambient temperature is below 20 °F (68 °F), it is advisable to place the dough in a closed place, such as a turned-off oven, and place a container with boiling water inside, to generate steam and raise the temperature of that space.
When do I know if my dough is ready to form the bread? The proofing of the bread depends on many factors, such as the type of flour used, the other ingredients, and the temperature of the environment.
That is why the recommended times are only a guide; the most important thing is to see how the dough behaves. What you are looking for is that the dough has doubled in size, looks visibly more swollen, and has air bubbles, something similar to a balloon filled with air.
If you live in a warm place (or if it is summer) the dough will ferment faster than if you live in a cold place (or if it is winter).
The best guide to know when to start forming the bread buns is when it has doubled, regardless of how long it took.
If you put some of your dough in a transparent container, and mark the top of the dough, you can more easily monitor the growth of the dough.
How do I know when to bake the bread? As in the first fermentation, also called block fermentation, the bread is ready to bake when it has doubled in size. - Prepare in advance: You can make the dough and let it block ferment for 12 to 24 hours in the refrigerator. After this time, proceed to form the loaves. As the dough will be colder, it will be easier to form the loaves, but the fermentation time may also be longer.
The other time to slow down the fermentation is by placing the formed buns in the refrigerator, covered with plastic wrap. After 8 to 12 hours, leave them out of the refrigerator until the oven reaches a temperature of 350 °F (180 °C) and bake them.
My favorite method is to delay the block fermentation because it enhances the flavor of the bread and you run less risk of over-fermentation. - Over-fermentation: Your bread is over-fermented if it has not risen during baking, is flattened, and feels dense and heavy. It has a pale color, the crumb feels gummy.
About this recipe
Pan sobao bread is not something that Dominicans make at home, we buy it in colmados and supermarkets, but we have added this recipe so that our readers who enjoy bread-making can prepare it at home. Freshly-made pan sobao is a wonderful bread.
Pan sobao is a balanced bread in flavor, versatile, with a soft texture, that keeps fresh for several days and is easy to prepare.
Making it at home allows you to use the best ingredients and adapt the flavors to your taste or food preferences, plus the satisfaction of making bread with your own hands and filling your home with the delicious aroma of fresh bread.
As for the shape, Pan sobao bread can be elongated or round, the shape varies according to the region of the country. You can make it in the shape you prefer or according to the final use you want to give it; if you are going to make hamburgers, you would give it a round shape, but if you are going to make hot dogs, you would make it elongated.
Some bakeries make it with the traditional double-roll Pan de agua shape.
This recipe has been tested by Tía Clara.

Video
Recipe
This awesome free recipe contains Amazon affiliate links, we receive a small commission from any purchase you make at no extra cost to you. Thanks for your support!
Pan Sobao / Sobado [Video+Recipe] Breakfast Bread Roll
Ingredients
- 1000 grams bread flour, (1kg or 8⅓ cup).
- 10 grams salt, (2 teaspoons)
- 10 grams instant yeast, (1½ tablespoons)
- 120 grams white sugar, (1⅔ cup).
- 250 grams whole milk, (1 cup)
- 50 grams large egg, (1 pc.)
- 350 grams cold water, (1½ cup)
- 100 grams butter, (¼ cup + 3 tablespoons)
Instructions
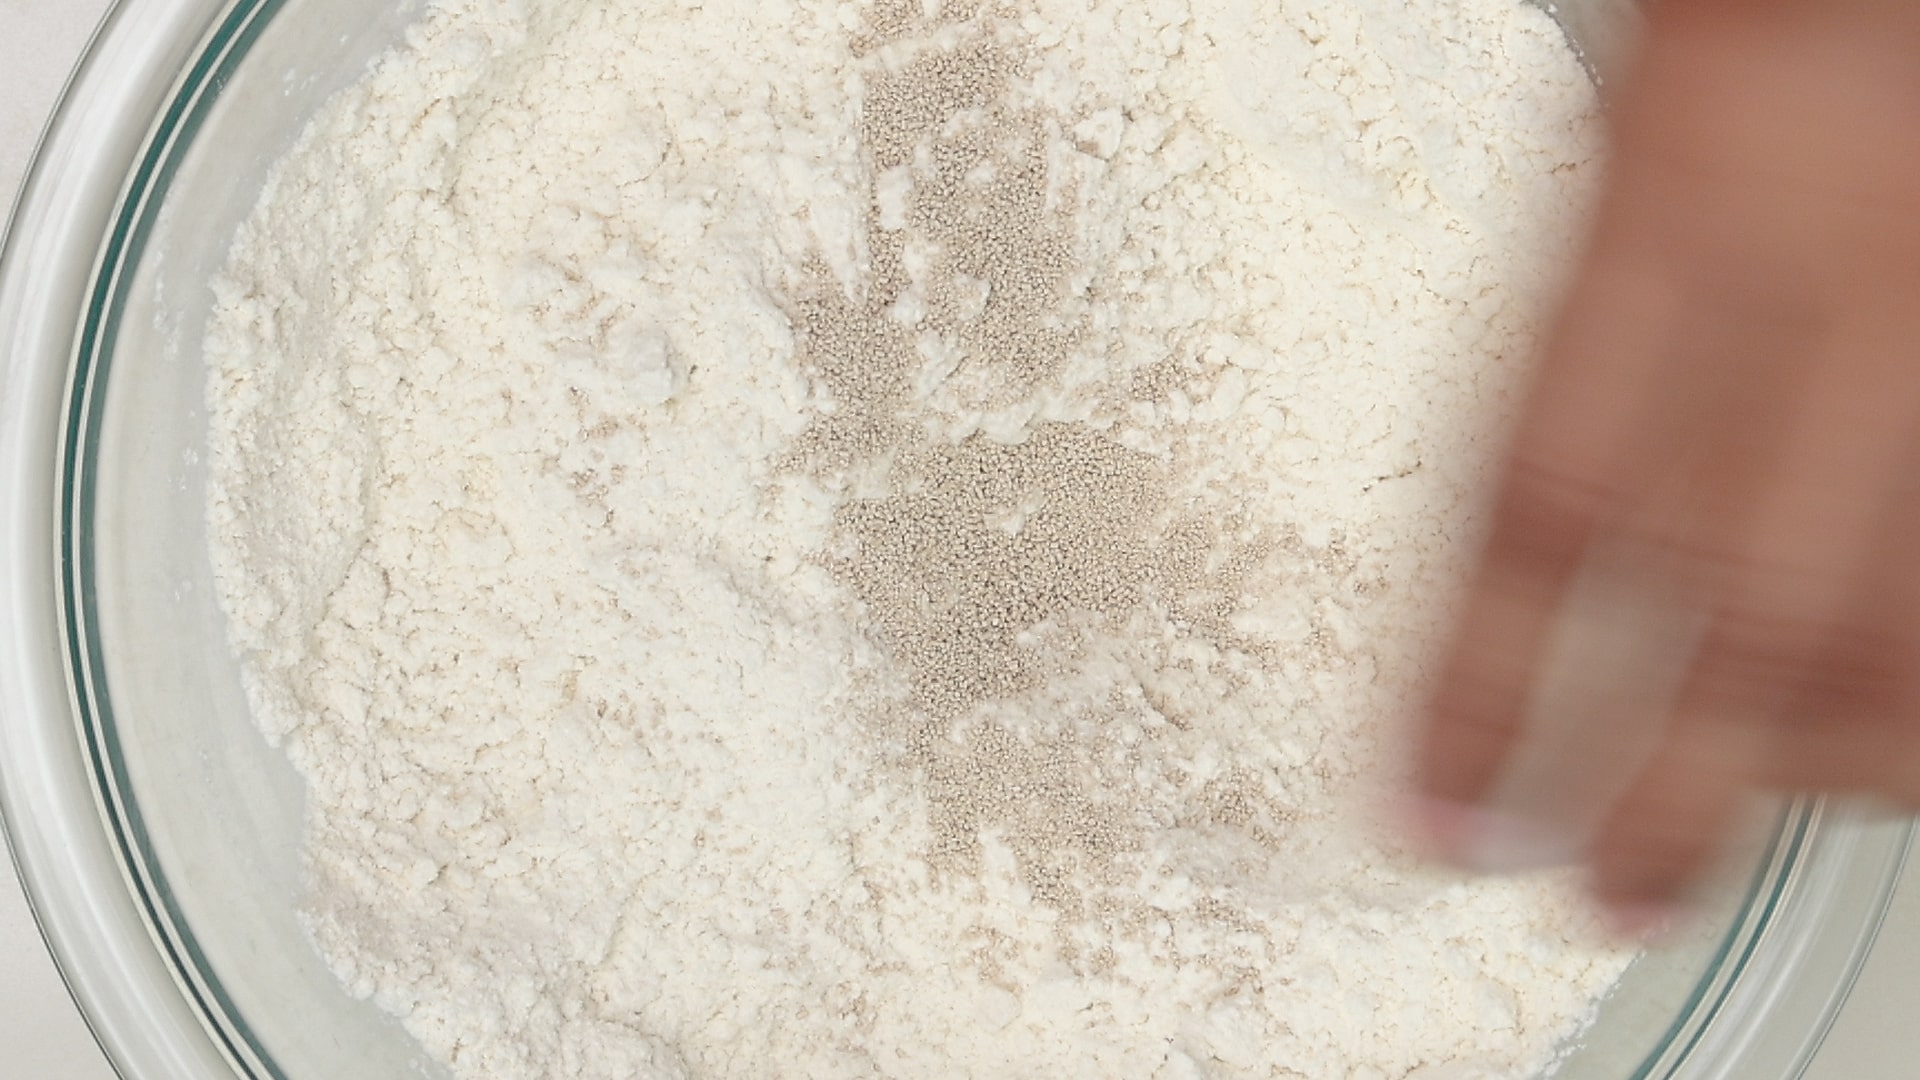
1. Combine dry ingredients
 Combine bread flour, salt, yeast, and sugar.
2. Combine wet ingredients
- Add egg to milk and mix well.Add the liquids to the flour mixture in the bowl or bowl of the mixer or dough mixer. Add cold water.

3. Knead
- ⚠️ If kneading in mixer or stand mixer: (If using a stand mixer use the lyre for this step.) Start mixing the ingredients on speed 2 (low) for 3 minutes.(If using a stand mixer switch to the hook) Knead on speed 2 (medium-low) for 5 minutes. Cover with a cloth and let stand for 3 minutes.Add butter and knead for 5 minutes on speed 2.⚠️ If kneading by hand: Knead until everything is well incorporated and the dough feels smooth and silky. This may take up to 10 minutes. You can knead for 5 minutes, cover, and let it rest for 5 minutes, and then continue kneading.Once you have a firm dough that does not stick to your hands, start adding the butter. Knead until you have a smooth and silky dough again, 5 to 8 minutes more.
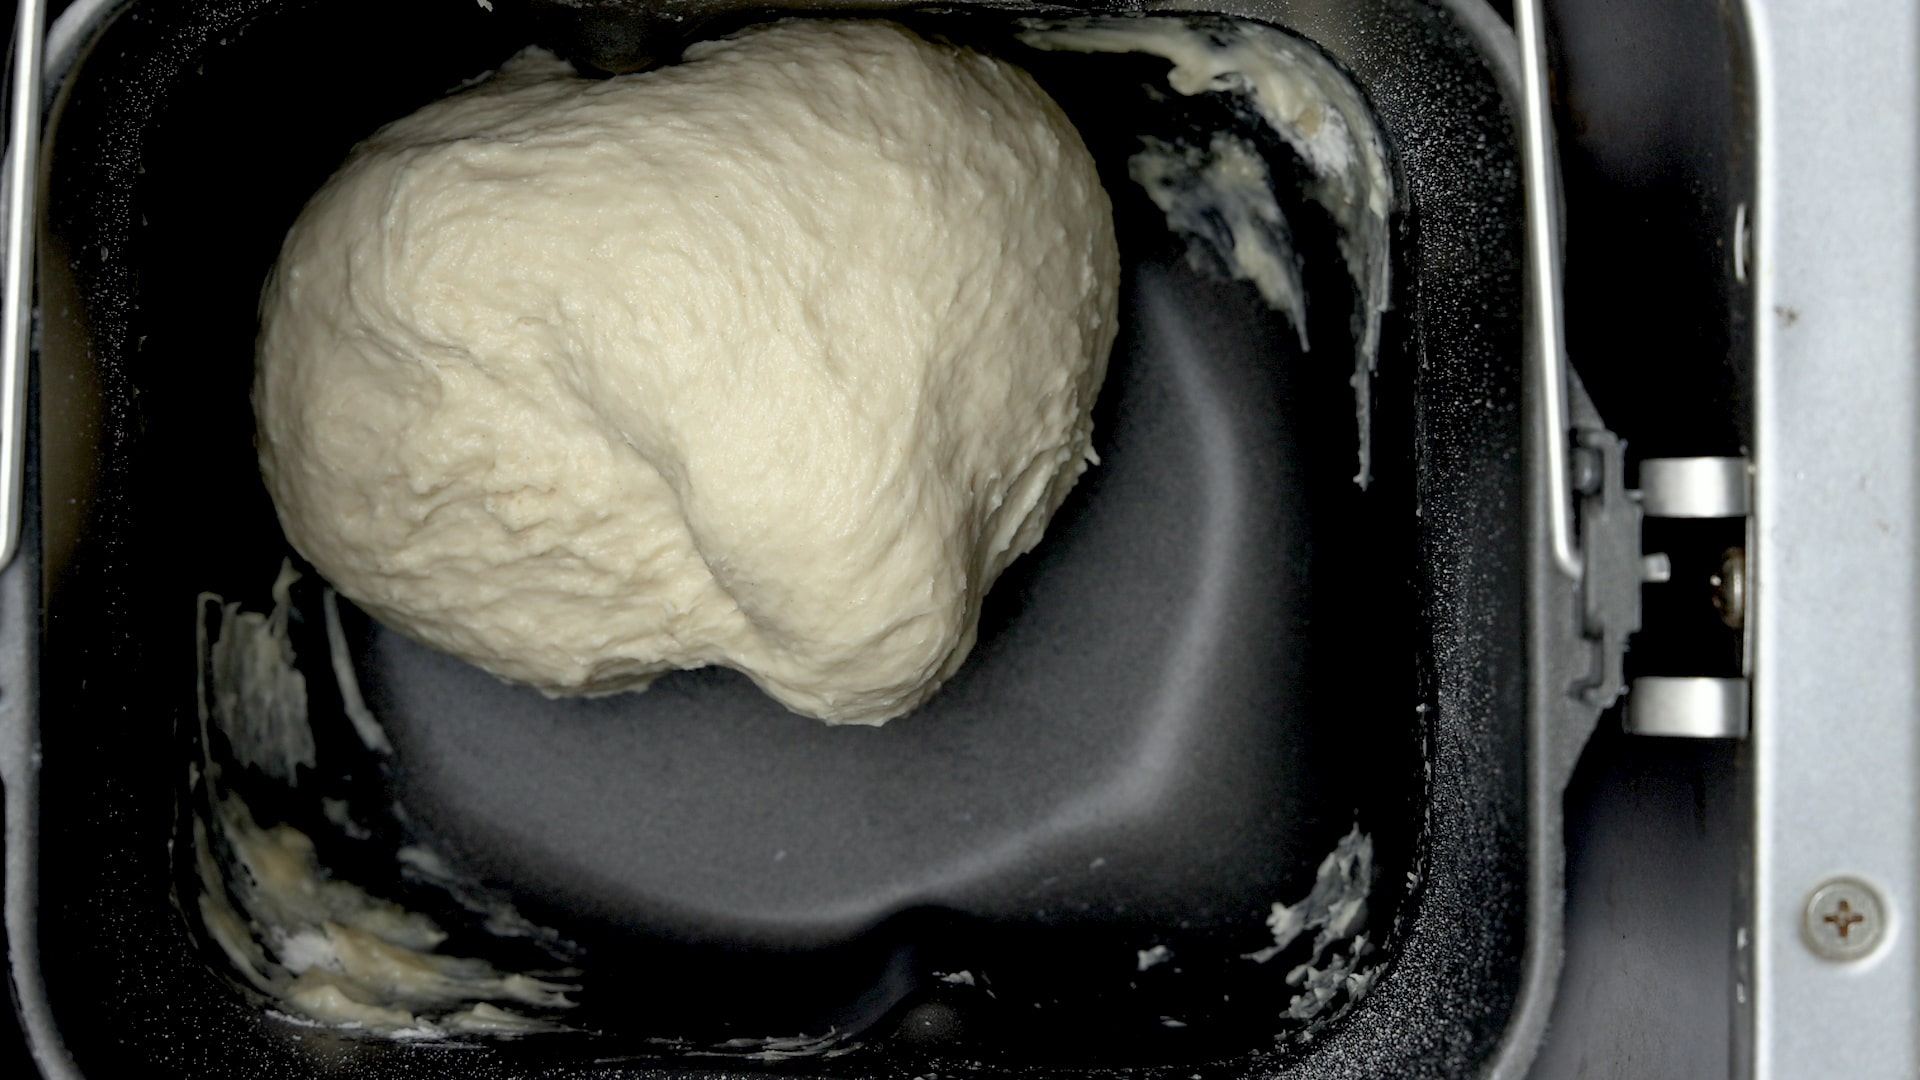
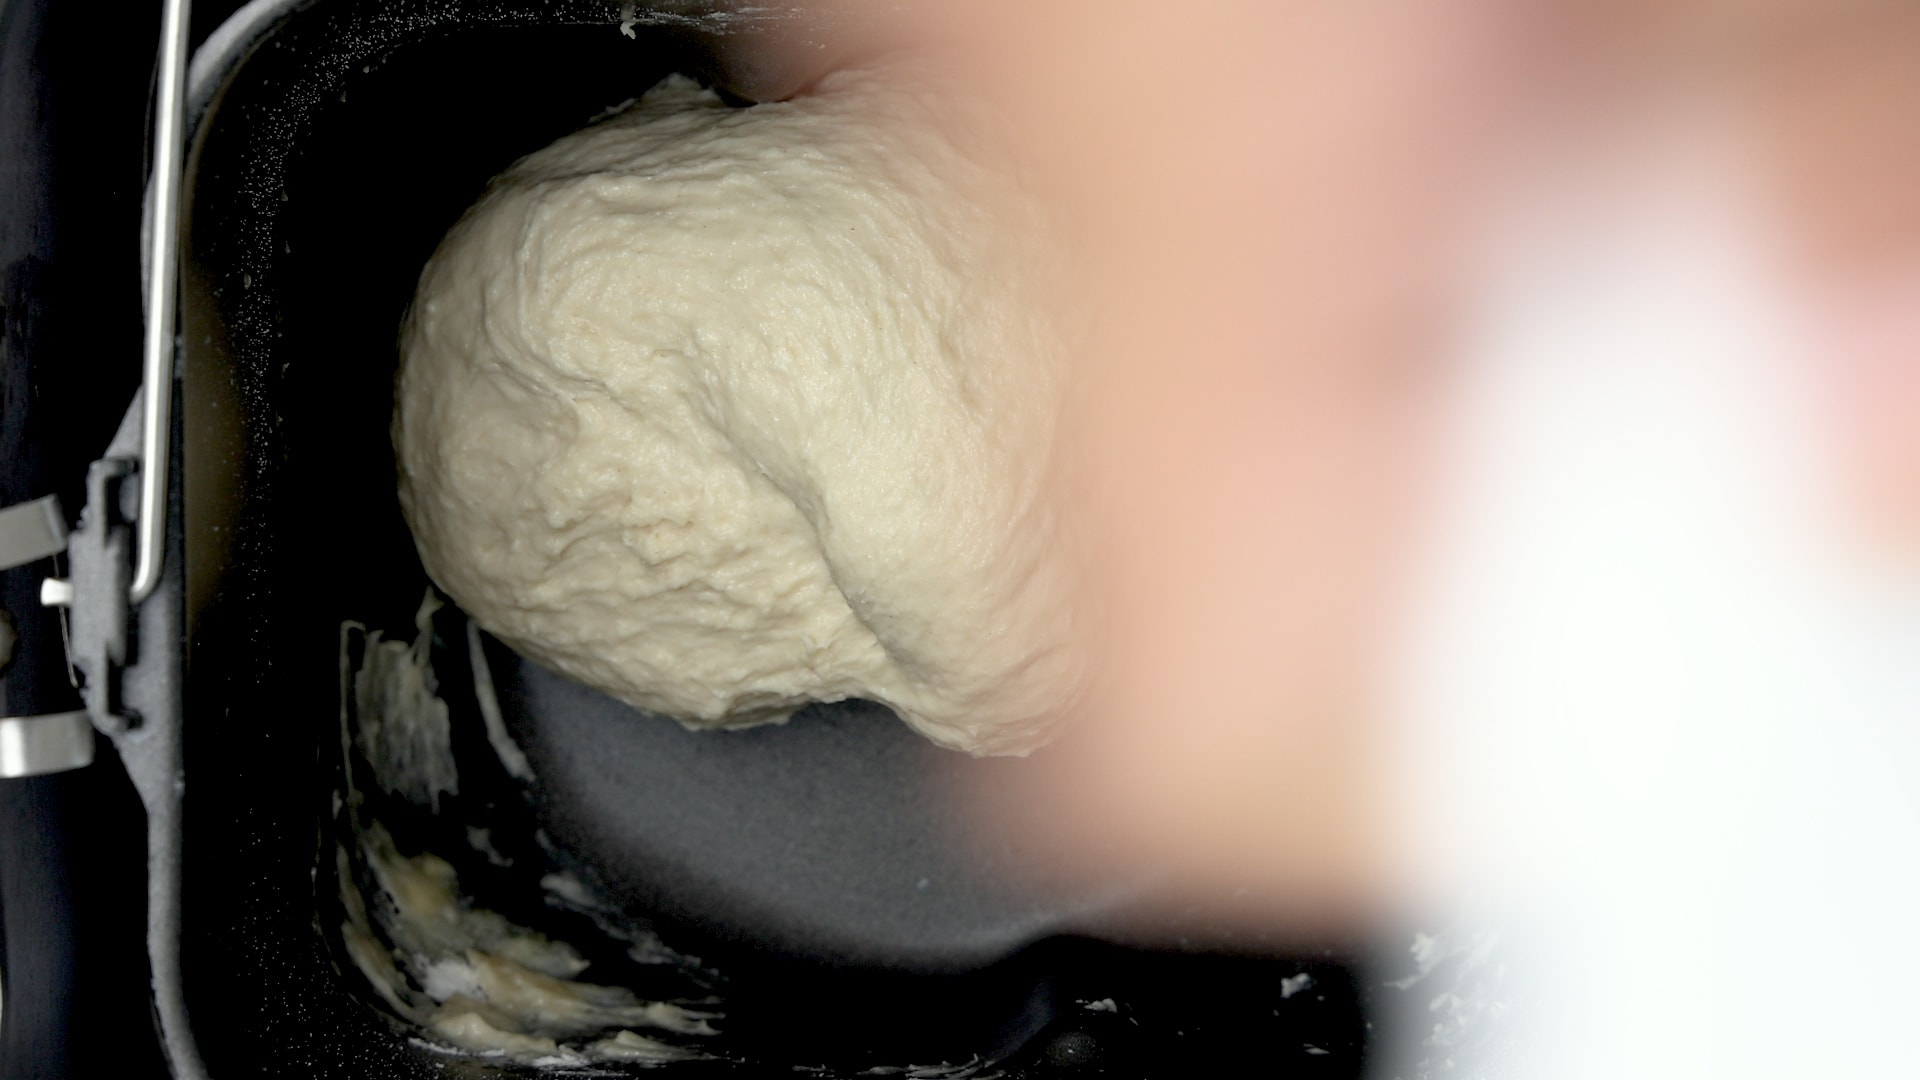
4. First rising
- Form a ball with the dough and cover it with a cloth and let it rise, in a cool place without drafts, until it doubles in size.It took me about 35 minutes. The important thing is that it doubles in size, it can take from 30 minutes to 1 hour or even 1½ hours.
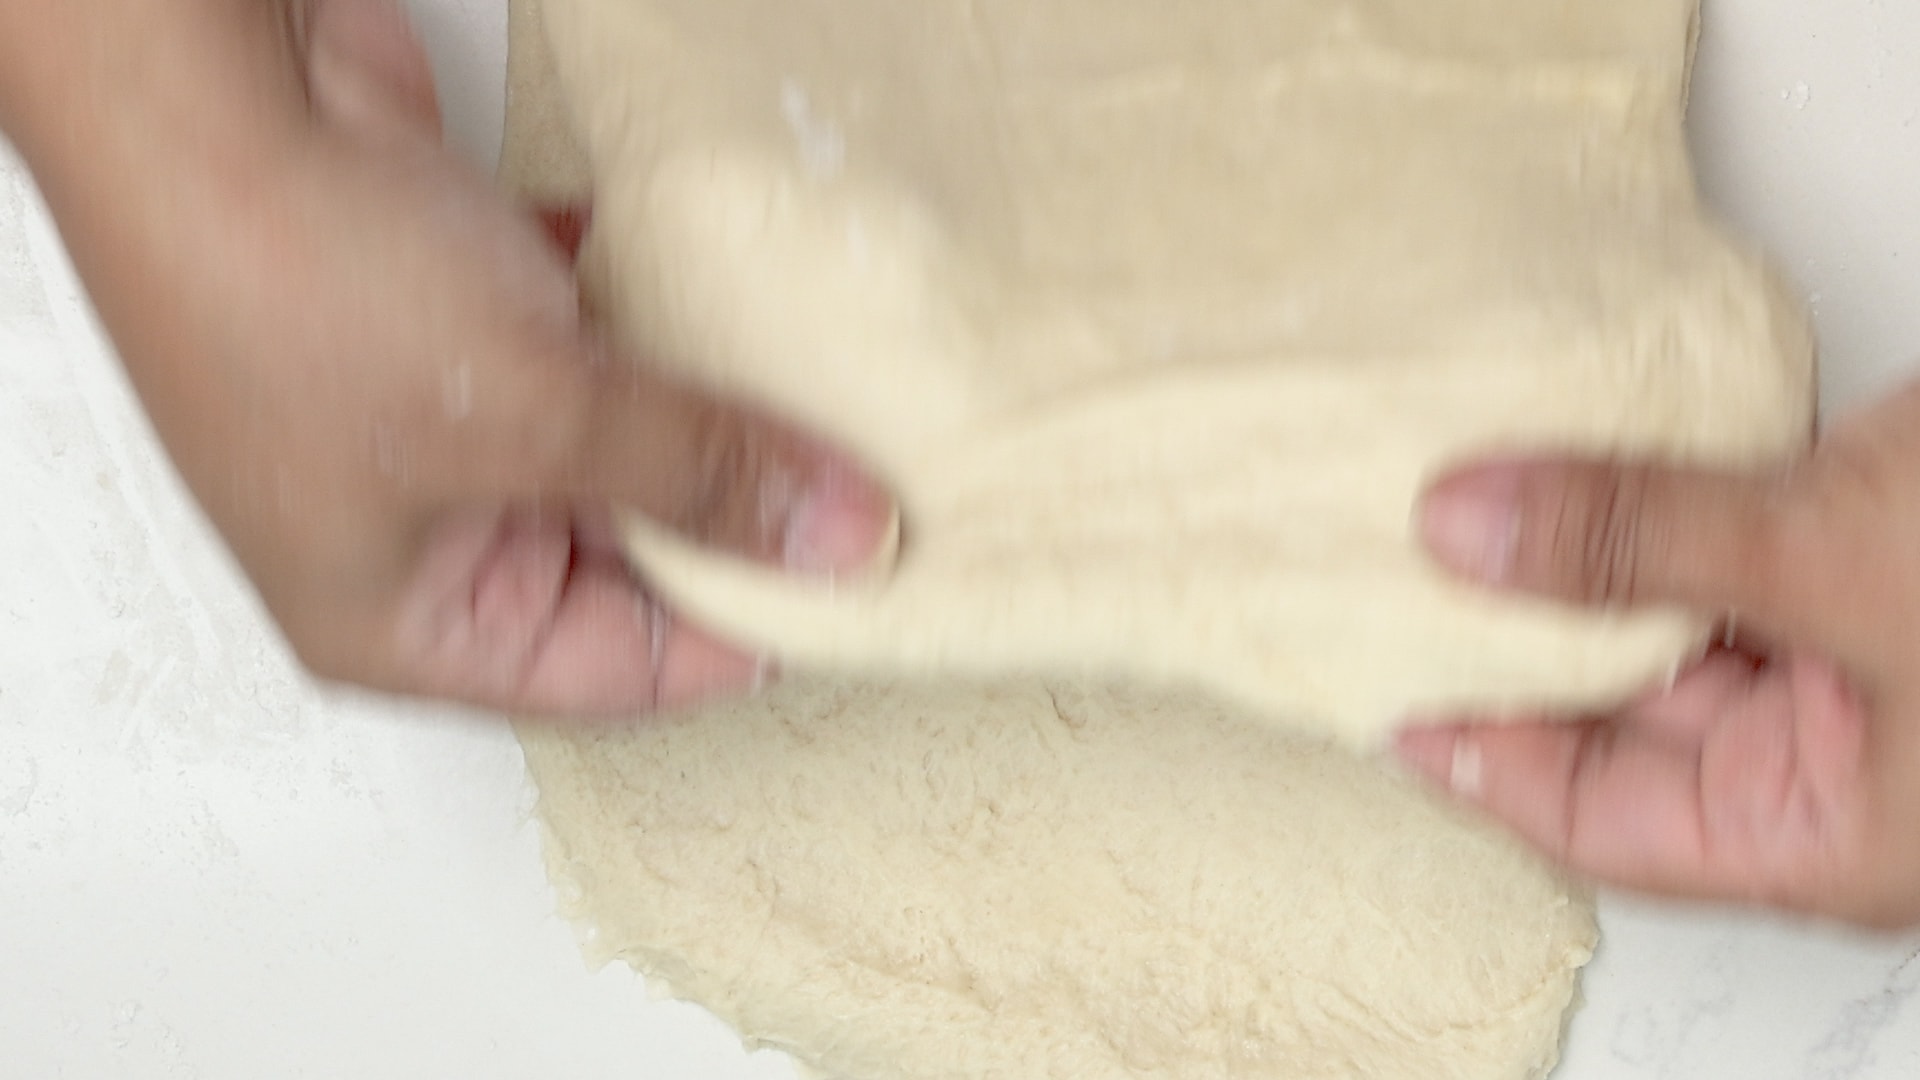
5. Folding the dough
- Take the dough and form a rectangle. Place it on a tray, cover it with plastic wrap, and put it in the refrigerator for 10 minutes.Remove from the refrigerator and with a rolling pin, stretch it into a rectangle about ¼" (5mm) thick. Fold it over itself, give it a 90° turn, stretch it again and fold it over itself. Repeat this process 2 to 3 more times.
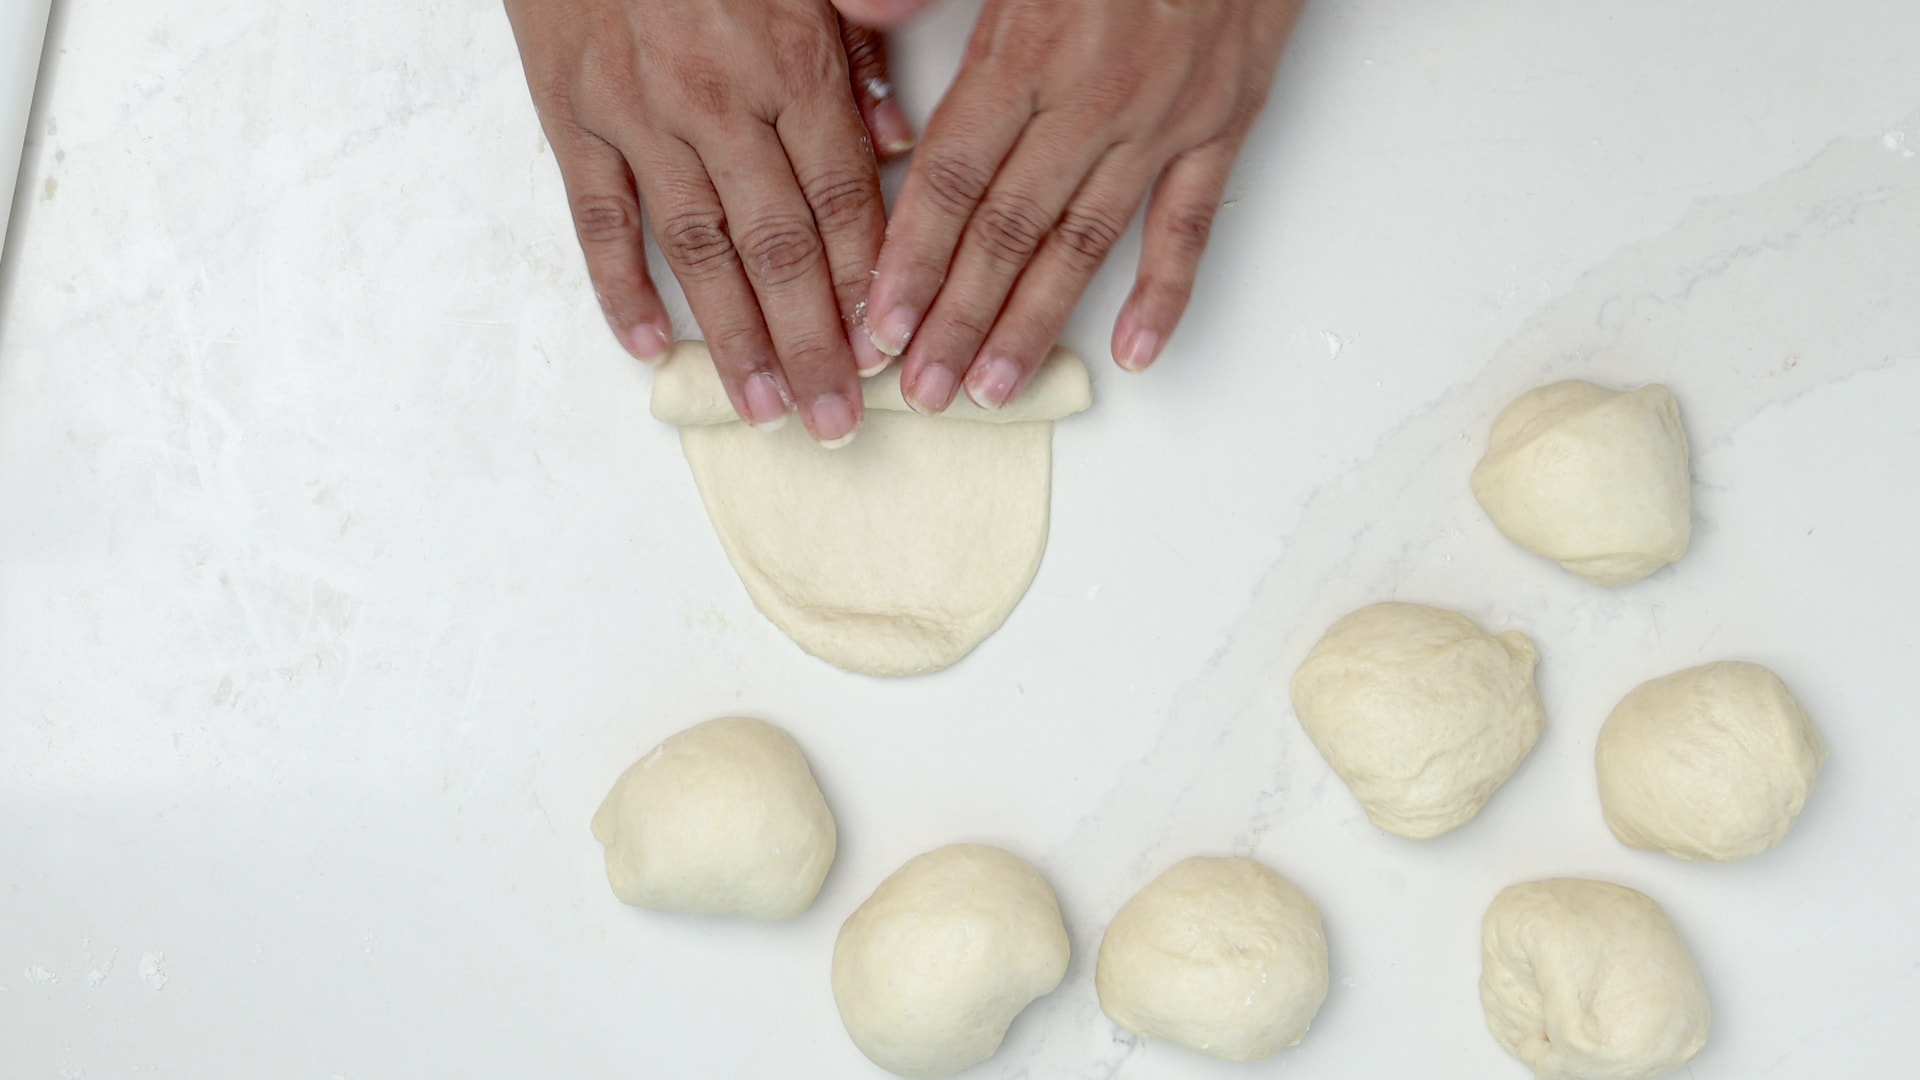
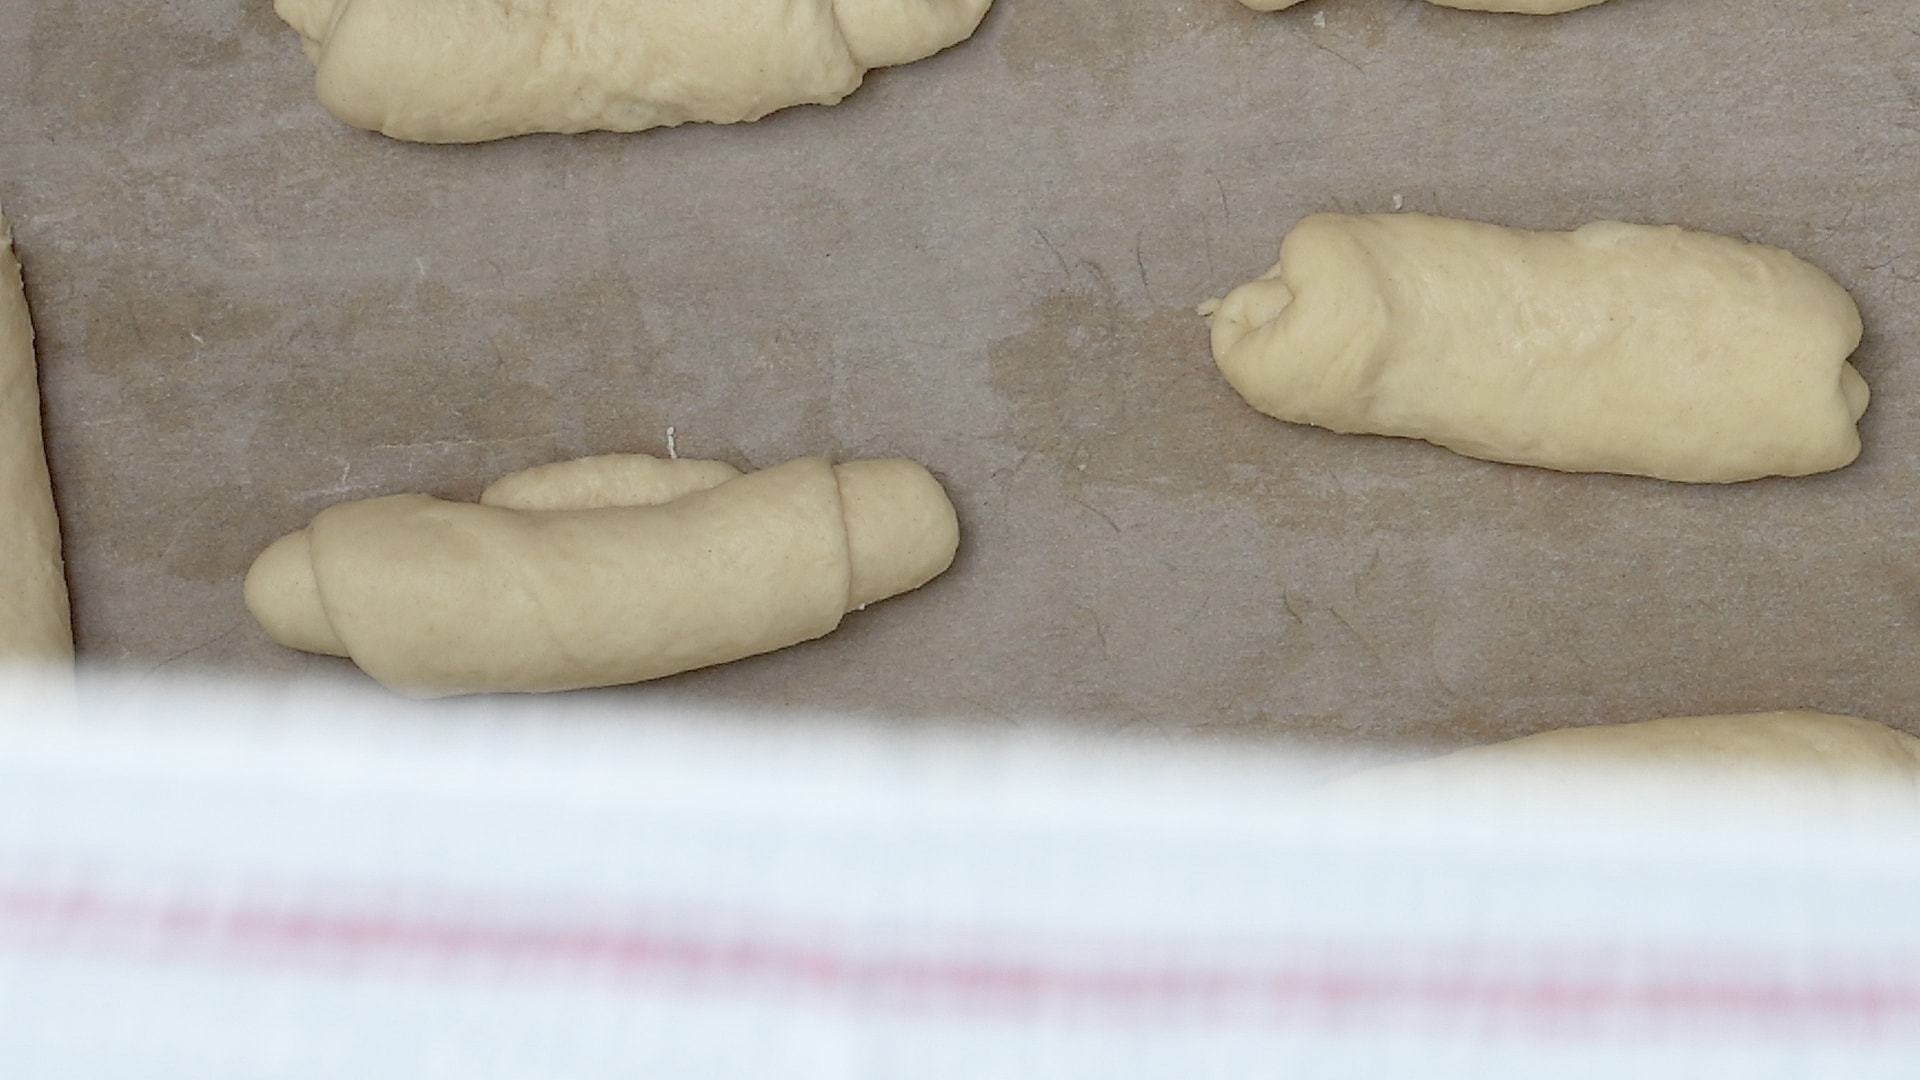
6. Forming the loaves
- Divide the dough into 10 equally-sized balls (weight them if you want to be exact).⚠️ To make the round loaves: Flatten each portion of dough and draw the edges to the center until you have a firm ball. With the seam facing the table and with your hand in the shape of a cup, give it a rounded shape; the idea is that the surface is smooth.⚠️ For the elongated buns: Take each portion of dough and flatten it into a rectangle. You can use a rolling pin. From the top edge, roll the dough until you reach the bottom edge. Press this seam well.
7. Second fermentation
- Place each bun on a tray, leaving a slight space between them. Cover them with a clean towel and let them ferment until they double in size, between 20 to 45 minutes.This fermentation tends to be faster than the first one, but the key is always that the bread should double in size. It took me 30 minutes.
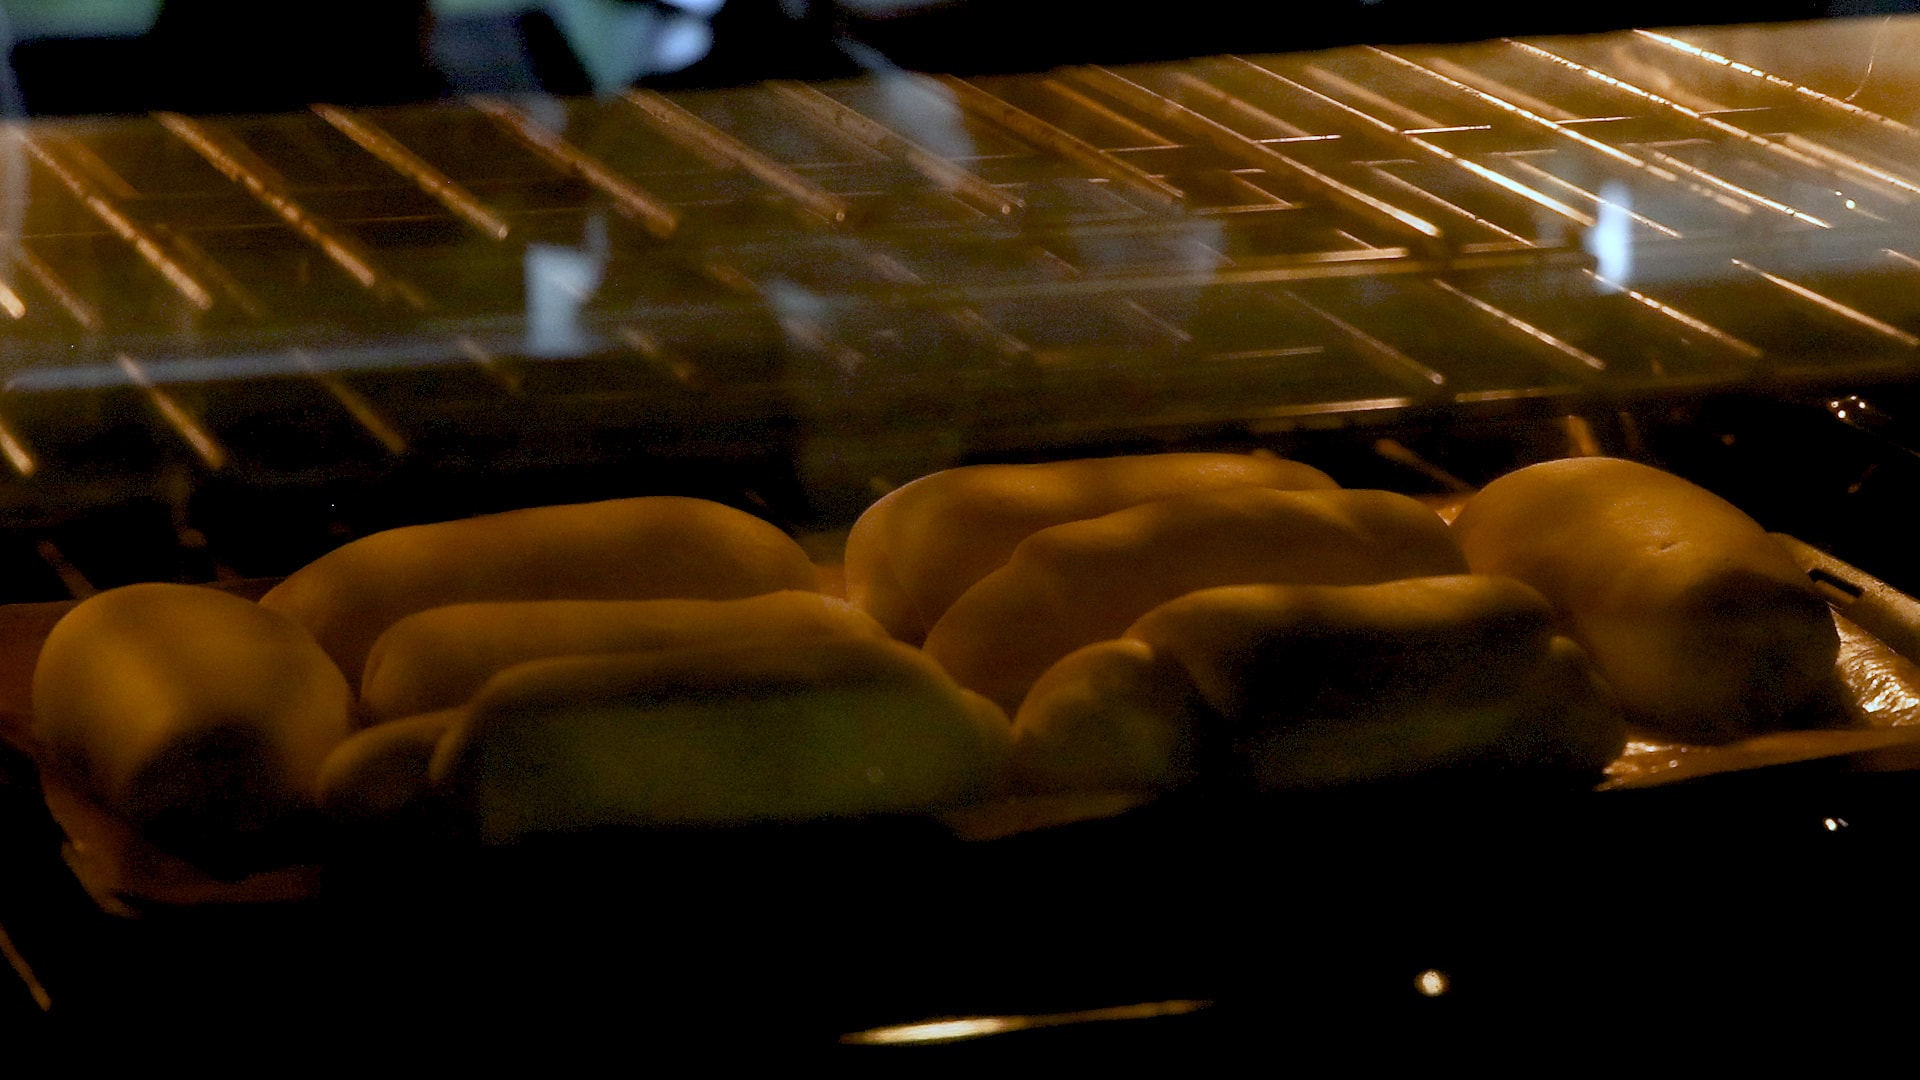
8. Bake
- When the bread has almost doubled, preheat the conventional oven to 350°F (180°C).Once the loaves have doubled in size, place them in the oven and bake until golden brown, about 18 to 22 minutes.Remove from the oven and let them cool for a few minutes on a rack.
9. Serve
 Serve the bread (see recipe suggestions).Store covered with a clean cloth towel to serve in a few hours, or refrigerate and heat in the toaster to serve the next day.
Cook's Notes
Nutrition
Nutritional information is calculated automatically based on ingredients listed. Please consult your doctor if you need precise nutrition information.
Want to save this recipe?
Enter your email & I'll send it to your inbox. ❤️ Plus, get great weekly recipes from me!
Más recetas de pan dominicano
We have a great collection of Dominican bread recipes on our blog, including Christmas Telera bread, Pan de agua breakfast rolls, and Pan de coco flatbread. For a non-traditional option, try Tia Clara's Pan de coco levado.
- Learn more about me and the humans behind this blog.
- Share your questions and comments about this post.
- Subscribe to receive our recipes and articles by email.
- Please stay in touch! Follow us on: