
Lana Mango: Life untangled!
Latest ideas
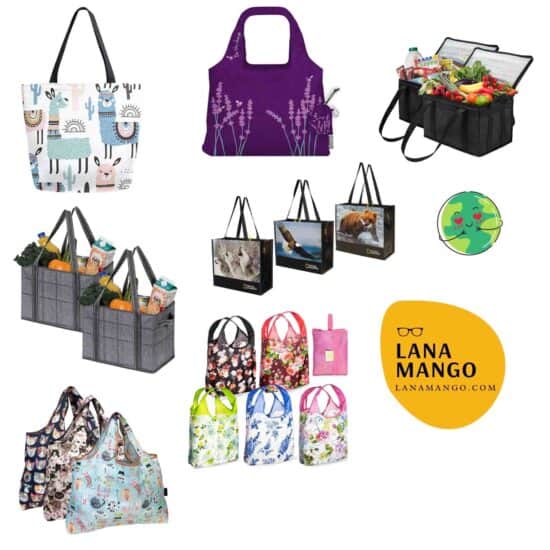
15 Easy Ways WE Can Help Reduce Plastic Pollution
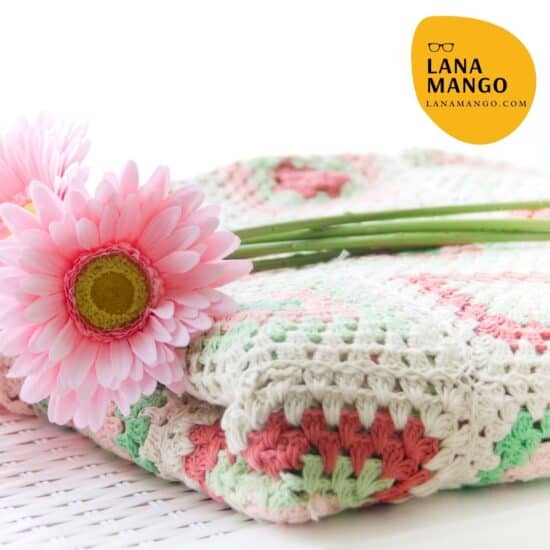
25 Best Free Crochet Baby Blanket Patterns (Tips & Tricks for Beginners)
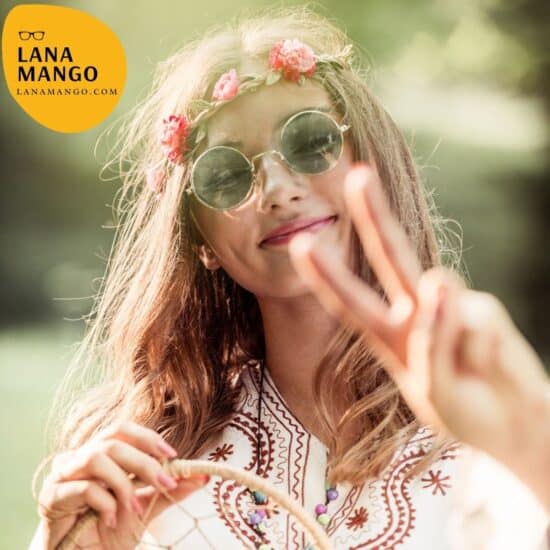
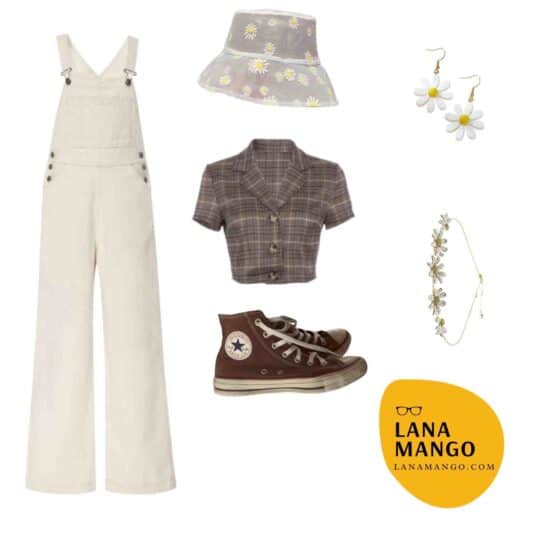
How to DIY Hippie Costume: How to Dress in Hippie Style
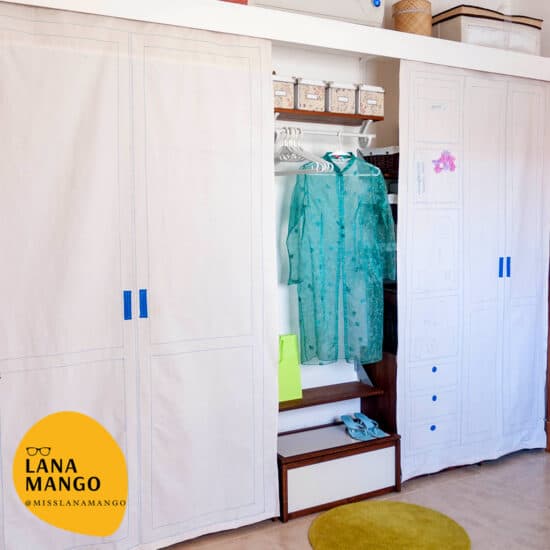
Fake, Fun and Cool, DIY Fabric Closet Doors Curtains Ideas

Gorgeous Boho Bedroom Decor Ideas that Won’t Break the Bank
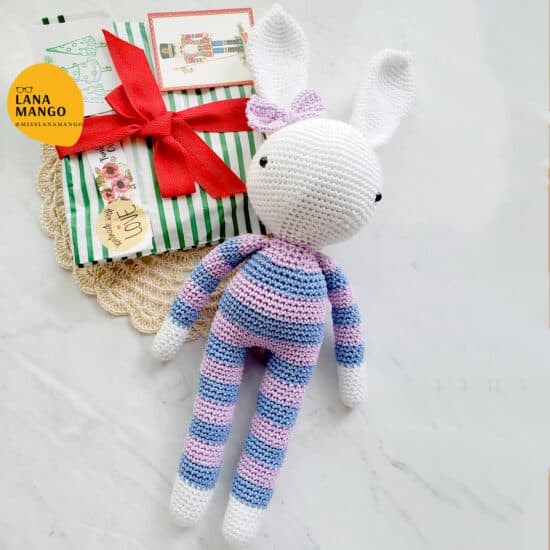
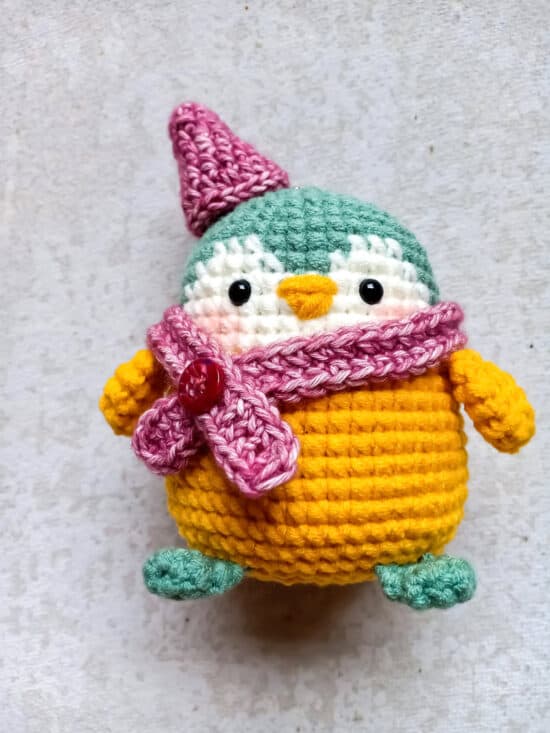
100s of Easy Free Amigurumi Patterns: Free Crochet Amigurumi Guide for Beginners
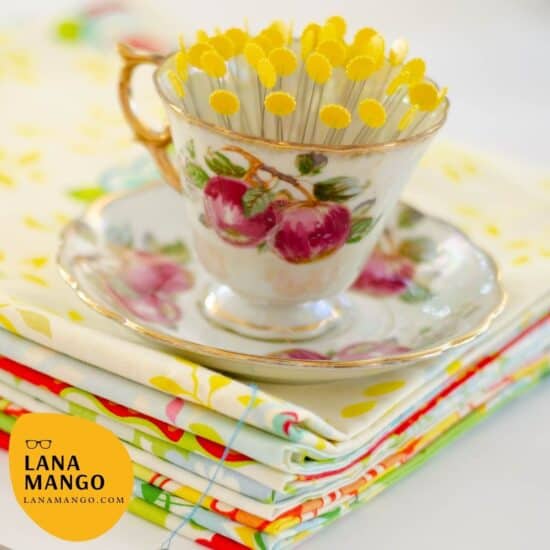
How to Make a Cute Step by Step DIY Pin Cushion – And Reusing a Broken Teacup
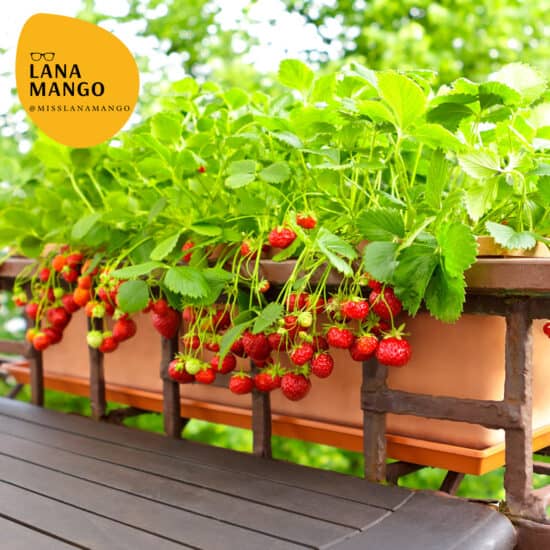
Easy Rooftop and Balcony Gardening – Starting a Balcony Garden 101
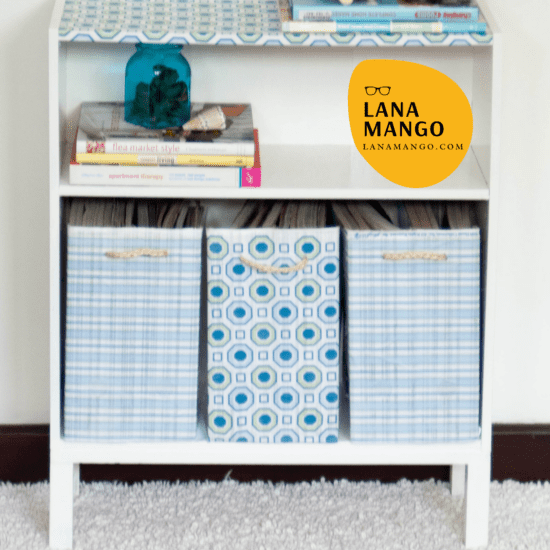
7 Magazine Holder DIY, Easy Magazine Boxes you Can Make on the Cheap
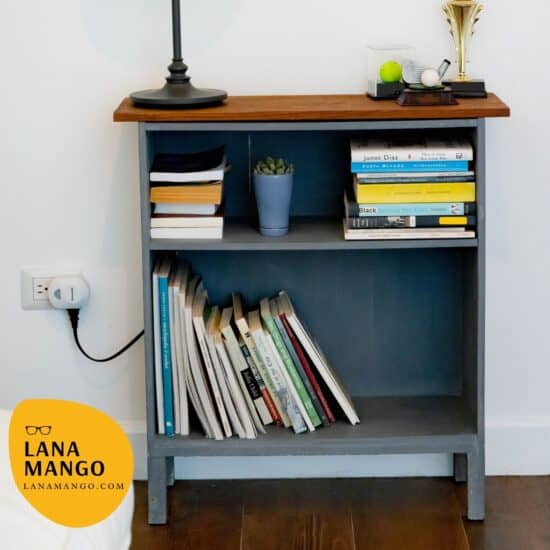
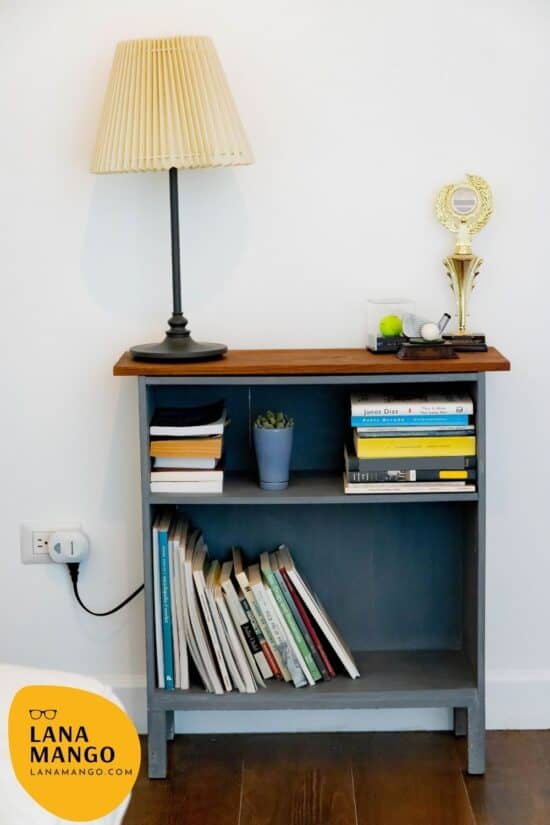
How to Refurbish a Cheap Bookcase: Great Ideas for a Cheap Bookshelf Makeover

Cheap Boho Decor, Ideas and Inspiration for a Modern Bohemian Room on a Budget

How to Make a Slipcover for a Sectional Sofa, Ideas for DIY Removable Slip Cover
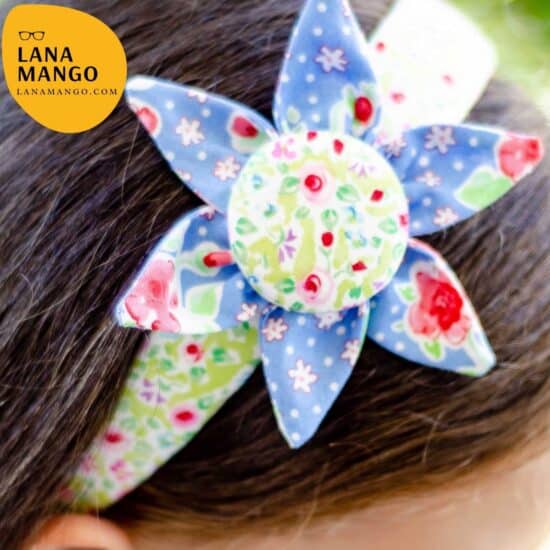
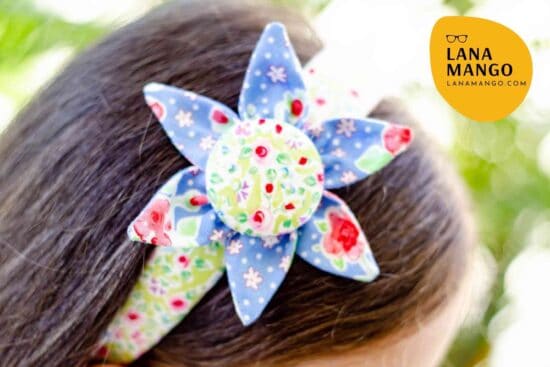
How to Make Headbands, Easy Ideas for Handmade DIY Head Bands and Hairbands
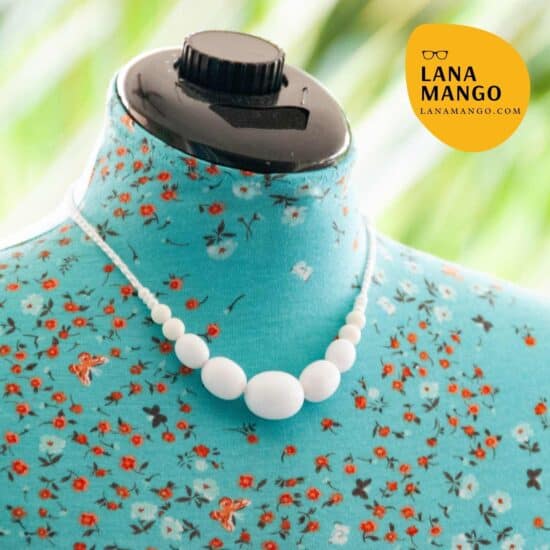
Easy Crochet Jewelry Ideas, How to Make Inexpensive Handmade Crochet Jewelry Gifts
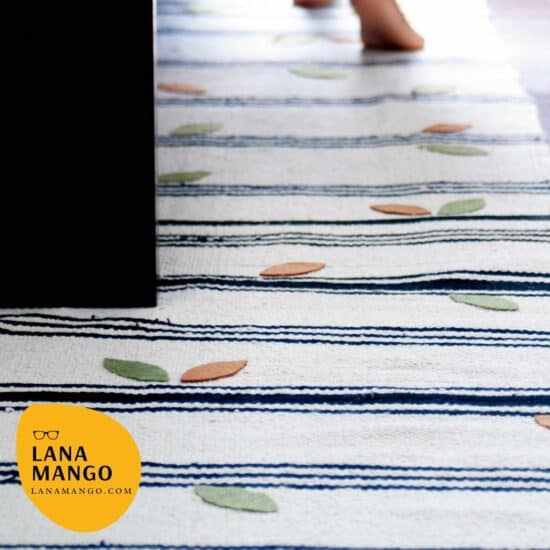
Easy DIY Ikea Runner Rug – Make a Cute Custom Runner by Sewing Together Small Ikea Rugs

DIY Street Sign Decor – How to Make an Easy Antique Street Sign for Bedroom Wall
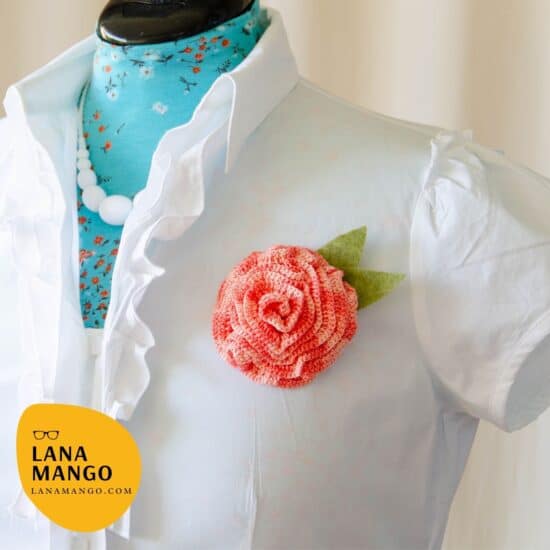
5 Easy and Quick Free Crochet Brooch Patterns and Video Ideas
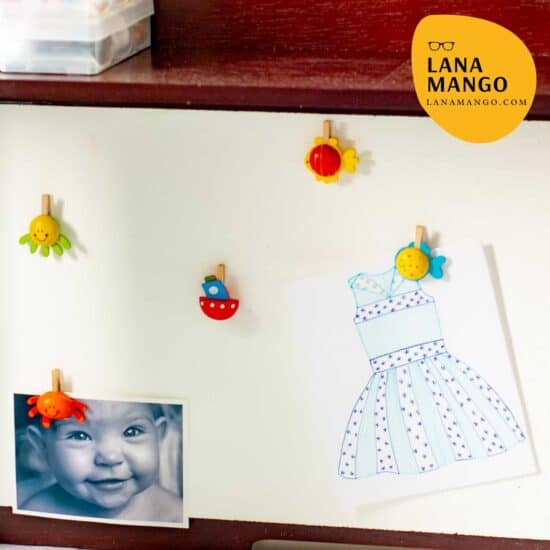
How to Make Tackless Kid Bulletin Boards – 5 Cute Kid and Toddler-Safe Cork Board Alternatives
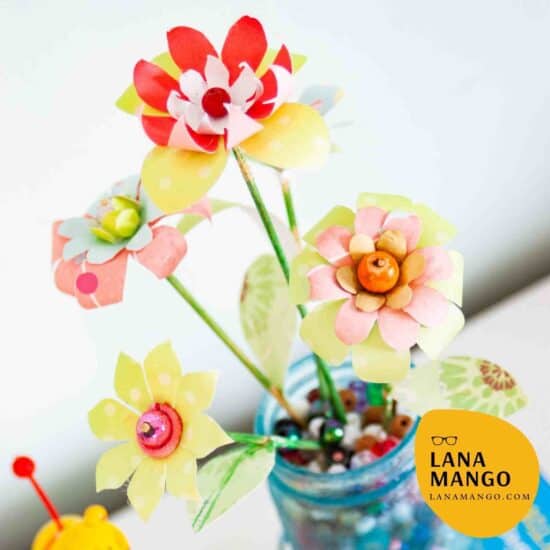
How to Make Easy Paper Flowers – Step by Step
Cute Spring Outfits 2022 – Dress-Code Friendly Fashion Inspiration for Teens and Young Women

Organization, crafts, decor, style, life
Ideas for a well-organized, efficient, thriving young life.