
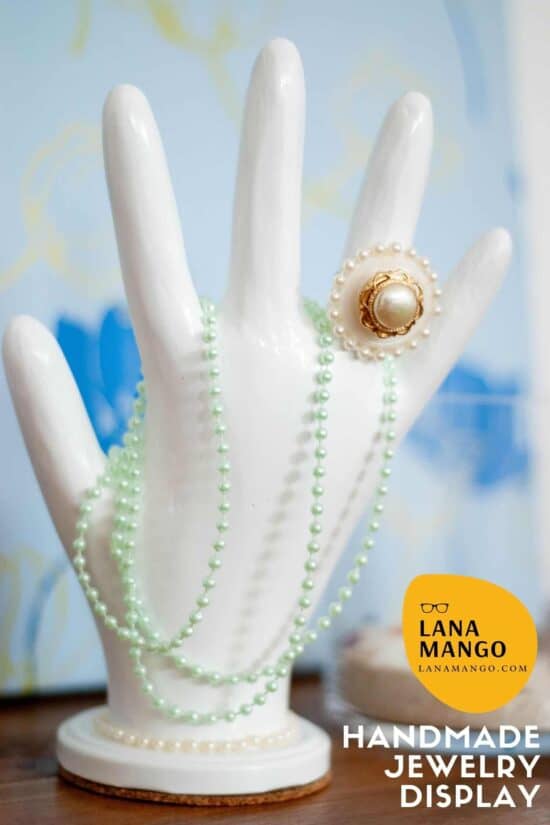
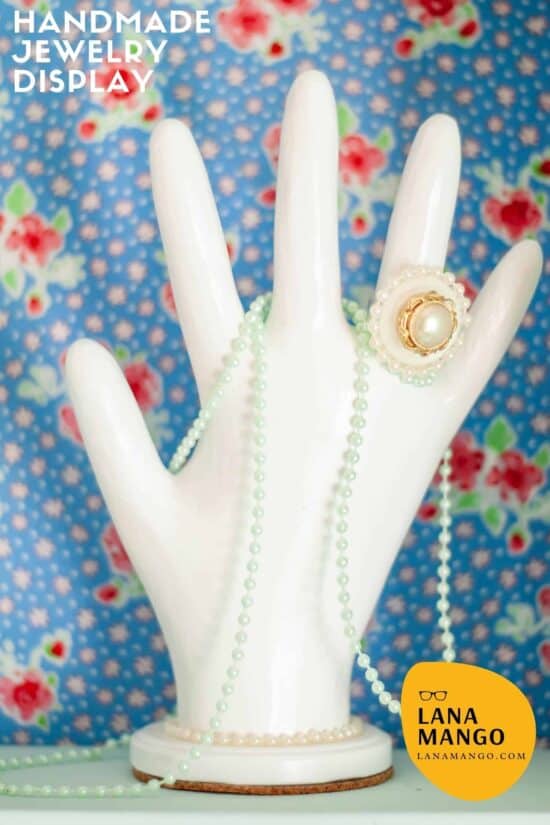
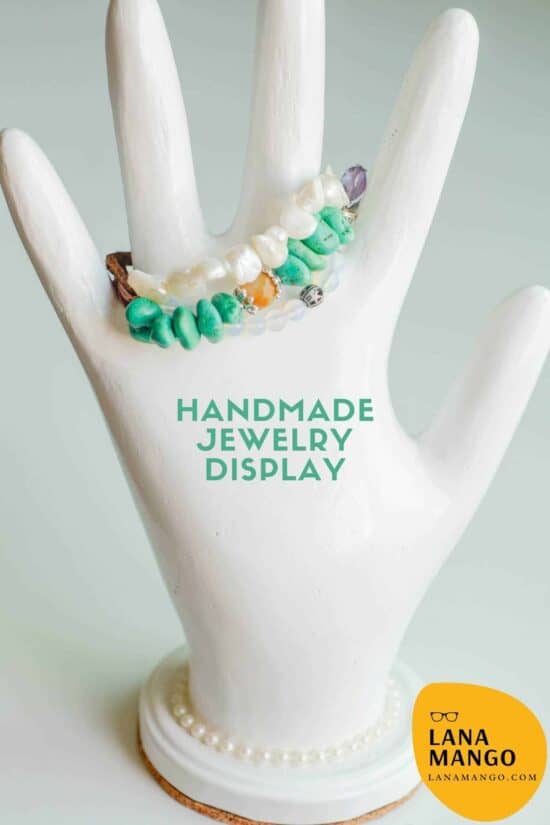
DIY Jewelry Display – How to Make this Easy and Cute Display in 8 Steps
If you make handmade jewelry for sale, or just want to keep your favorite pieces on display this DIY jewelry display is a cute way to go about it. I was looking all over for some DIY ring display ideas and hadn’t found one I liked enough.
A couple of months ago I was reading a design magazine and I noticed somebody had some glove molds used as jewelry displays. It suddenly occurred to me that I could just DIY my own.
BTW, if you’re interesting in making your own jewelry, check out that link, or this about crochet jewelry.
So, I bought a couple of pounds of plaster and brought it home, but I was in the middle of something else, so it just sat there for weeks.
About three weeks ago I dusted off the idea of a DIY jewelry display and started here:
How to make a DIY Jewelry Display
Step 1
Materials you’ll need (links to my Amazon affiliate):
- A surgical glove
- Empty plastic water bottle of about 3 inches in diameter
- Plaster of Paris
- Screw,
- Jar lid
- Glue
- Piece of cork slightly bigger than the lid
- High gloss white spray paint
Step 2
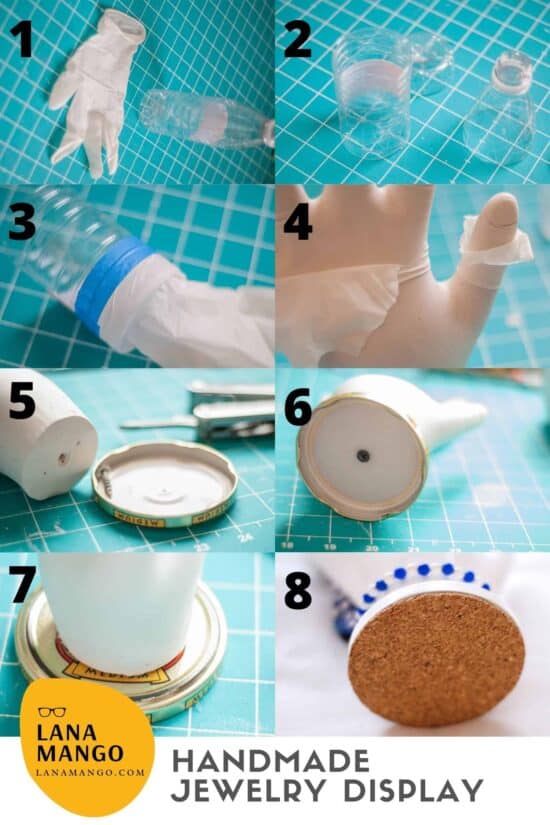
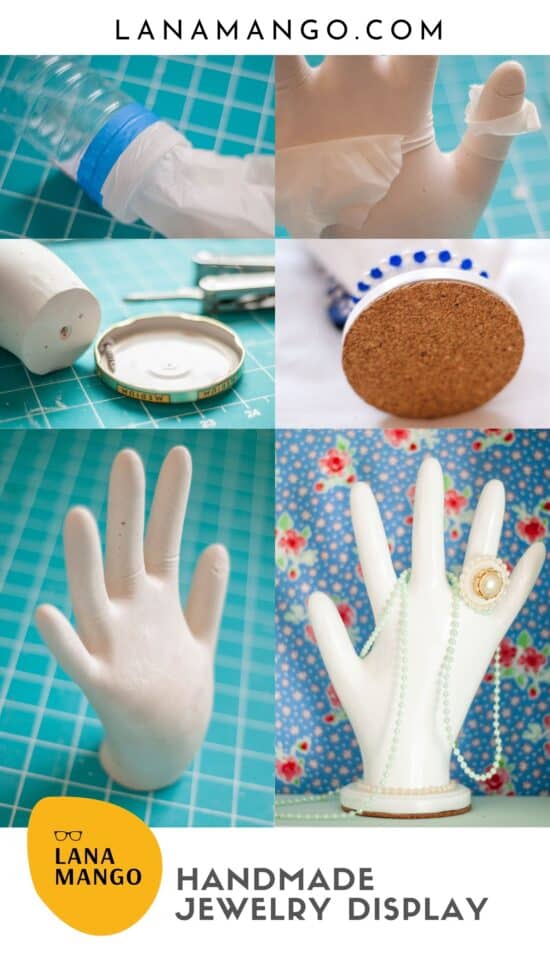
Cut the top and bottom of the water bottle, leaving a tube.
Step 3
I taped the water bottle tube the glove wrist to keep the opening stretched.
I mixed the plaster (follow directions in the package) and filled up the glove with it. I had to hold the glove for a few minutes while the plaster hardened. I bent the fingers slightly. It gives it a more natural look., but it still is not a realistic hand, it is a display, not a sculpture.
Step 4
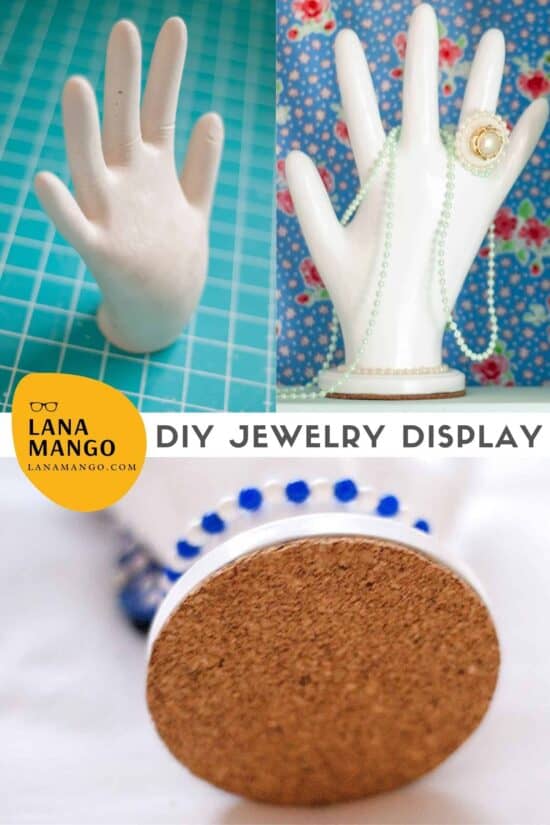
When the plaster hardened I peeled off the glove (it came off easily) and let the plaster cure. After it hardens, the plaster retains a lot of water, it has to be dry before doing anything to it, so I let it dry for about a week.
Step 5
Before I put it away to dry, I screwed in a flat head screw in the center, this is best done before the plaster dries. It had to be done slowly and remove the screw when it was half-way through so the excess plaster will come out.
Step 6
I needed a base for it, a small MDF plaque would have been nice, but I didn’t have any. So I glued and screwed it to a jar lid. Then I turned the display upside-down and filled the lid with plaster and let it dry another day.
Step 7
I filled the pores and creases with a watered-down plaster mixture, let it dry, sanded the hand with a very fine sandpaper, then I spray painted the whole thing with high-gloss white paint. It took 3 coats for complete coverage.
Step 8
I glued a circle cut out of a cork tile to the bottom (felt works too). It finishes it nicely.
I finished it by glueing a string of plastic pearls around the wrist, and that was it. 6 weeks from idea to completion.
This is pretty delicate, and would break if it is hit, or falls, so it should be treated delicately.
If you make handmade jewelry for sale, this is a cute way to photograph them. You can opt for a different color (matte black perhaps?) for a more high-end look, although the high-gloss paint gives it the porcelain-ceramic look I was aiming for.
I used to make models with plaster in university, and I think it is a versatile, forgiving material. Not to mention cheap.
Now I just need to make some actual jewelry to display on it.
More DIY jewelry display ideas
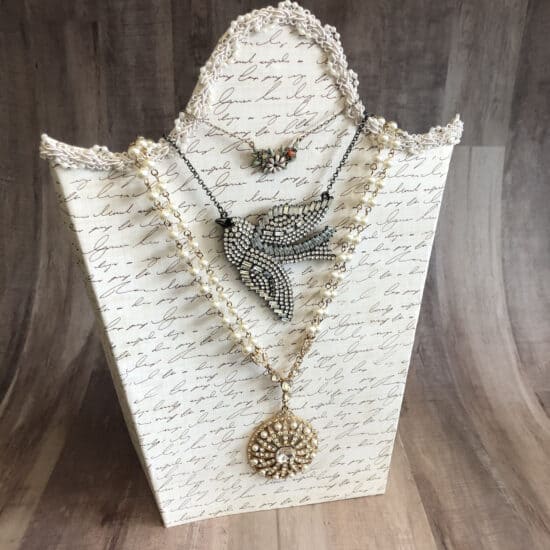
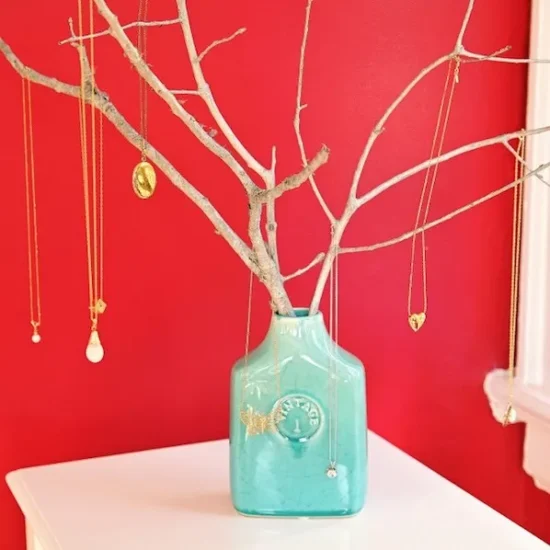
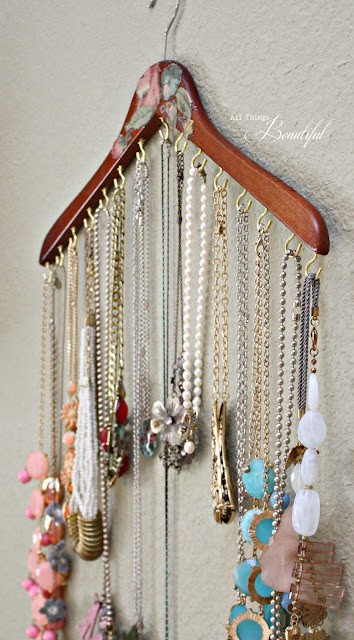
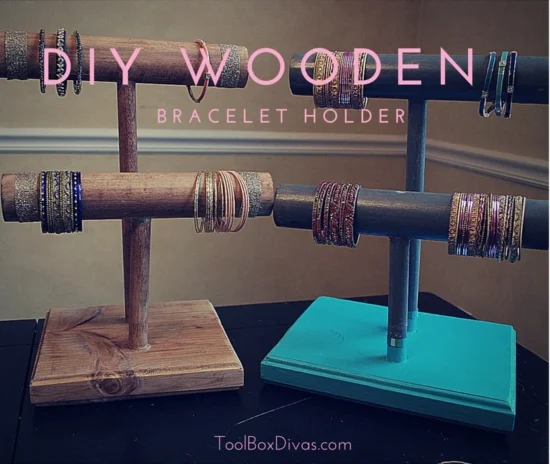
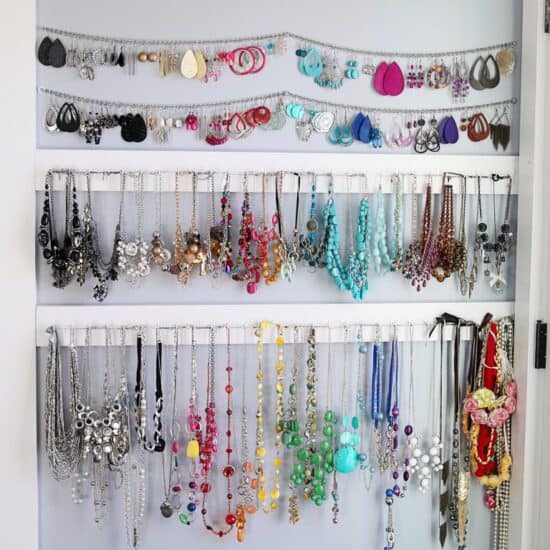
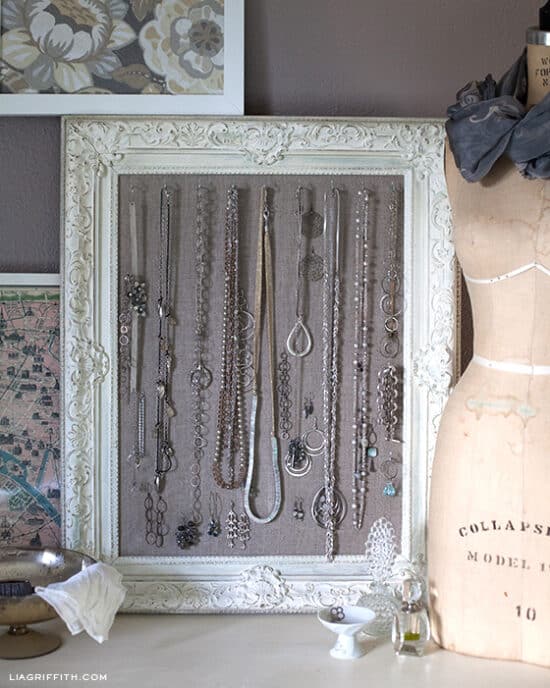
Links: one, two, three, four, five, six.
This cute homemade jewelry display is now used strictly as a decoration, and sits on top of the wall boxes I had made.
Enjoy!
Video

Hi I found this on Pinterest while searching for something else and as you probably know its very easy to get distracted by something else and hours later still haven’t found what you are looking for as you find wonderful ideas everywhere. Your jewellery display is awesome, thank you for sharing your tutorial and I will share and pin it now as it is fantastic , andrea
Thanks a lot for coming to visit, Andrea.
Love this idea. It looks great. I think I’ll try it…
I came upon your site today. Brilliant! When I came upon your organization and decorating ideas, I found myself so engrossed I got completely distracted from my work. I’m in the same situation – nomad living around the world and just moved into a new house. Thanks so much for the excellent, clever, and money-saving ideas for just about everything. You rock!
I'm LOVING your blog! It's great! I discovered you today and I'm bloglifting TONS! You spoke about lists….shesh…I'm the queen. (I even have a master list that tracks the individual lists. Can't let myself become disorganized!)But, I'm bloglifting this idea too. I think it'll make GREAT gift ideas for family this year. How long do you think it needs to dry if you're not wanting to make a 6 week project? ;)Honeywww.mondorfment.blogspot.comWhen Mon(tessori)(Wal)dorf (and Attach)ment Parenting meet in our home.
this is LOvE.i had to show off your creativity and fantastic tutorial.
Thanks, Melodie!
So creative!
Thanks, Abby, you're always so kind.Inbal, thanks for sharing it with your readers!
Lana Mango, this is the way to re-use the one time used gloves!And I love the clean look of it.I had to show your fantastic idea to my Blog readers.
You clever cookie! I've seen these around, but I would naver have thought to make my own. Nice job!
Thanks, Stacie.
What a great idea! Love it!