
How to Refurbish a Cheap Bookcase: Great Ideas for a Cheap Bookshelf Makeover


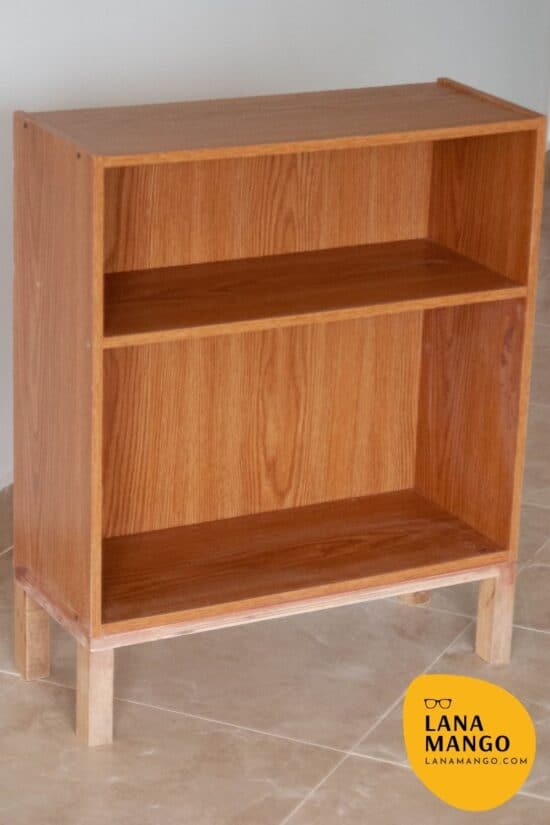
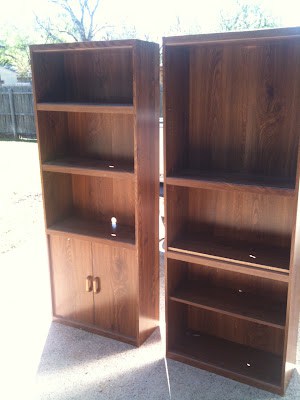
Have you found yourself in possession of an ugly, cheap bookshelf that you don’t want to get rid of but also hate the look? You know, one of those flat-packed, particle board ones with a paper lining? Well, I have good news for you: refurbishing a bookshelf is easy, and you can definitely improve on it with a bit of effort.
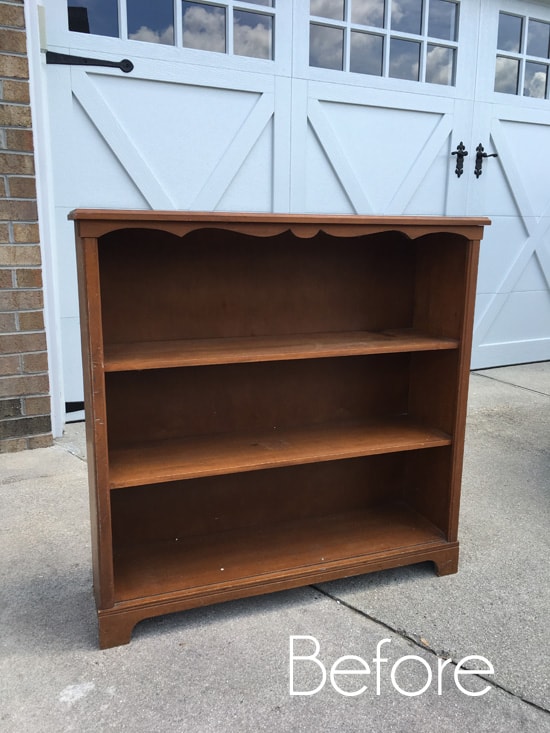
I once “inherited” one of those, and it was ugly, peeling, and ripe for the garbage bin, but I thought I’d give it one last chance and see if it could be redeemed. I am happy to announce that yes, I was able to refurbish it, and then do it again a couple of years later. Not unlike that other furniture makeover I did.
The poor thing wasn’t meant to go through the hardships of moving, after all this is one of those super-cheap flat-packed wood shavings and paper pieces of furniture that start coming apart as soon as you finish assembling them.
2 refurbished bookcase ideas
What I used
- A piece of 3/4 inch plywood (size will depend on the width and depth of your bookcase.
- 4 pieces of 2″ x 2″ x 5″ pine cut for the legs
- Wood glue
- 16 1-inch wood screws
- 1 inch nails
- Wood filler
- Primer
- Foam roller
Chalk paint (gray or white) - Soft 2″ paint brush
- Spray adhesive
- Hardcoat Mod Podge
- Sandpaper
- Felt pads (chair gliders)
- Fabric that goes with the paint color (optional)
Disassemble, glue and reassemble
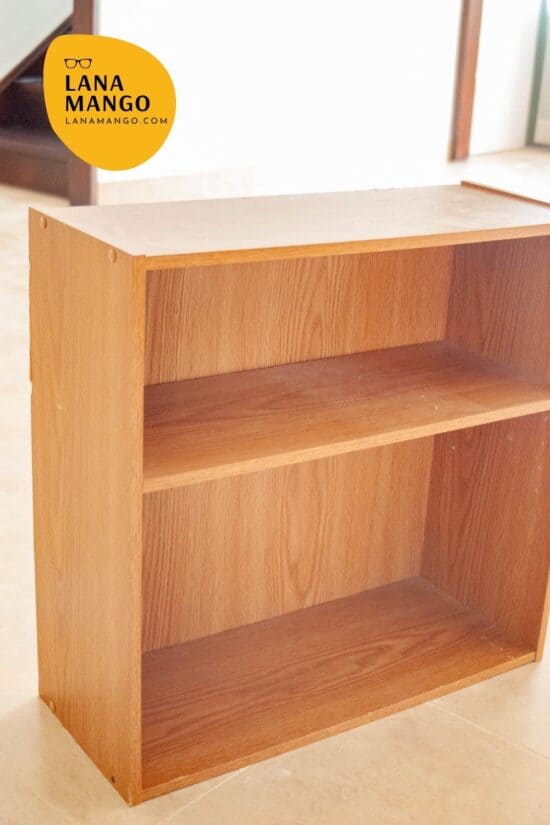
The first thing I did was completely disassemble the bookcase, which was easy because each side was held by 4 screws. I then glued every piece as I put them back together. I pre-drilled holes to add new screws, and reattached the backboard, this time adding a lot more nails and making it completely square. So long wobbliness!
Make a base with legs
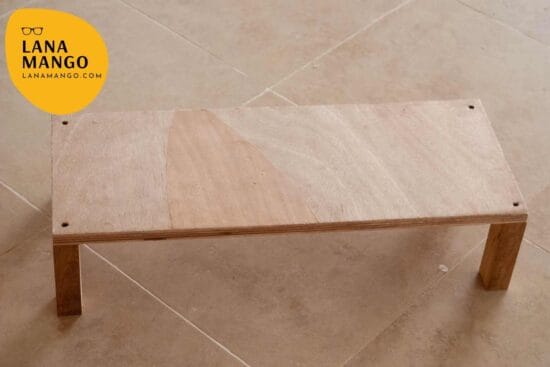
I made a base to raise the bookcase off the floor (for easy cleaning and moving, and because it looks better) by glueing the legs to the piece of plywood. I then screwed the legs to the plywood for even extra strength.
Joining the bookcase and base
Then I applied a good deal of glue to the top of the base and mounted the bookcase on it. I pre-drilled some holes, and screwed from underneath to permanently attach the two parts.
Sanding
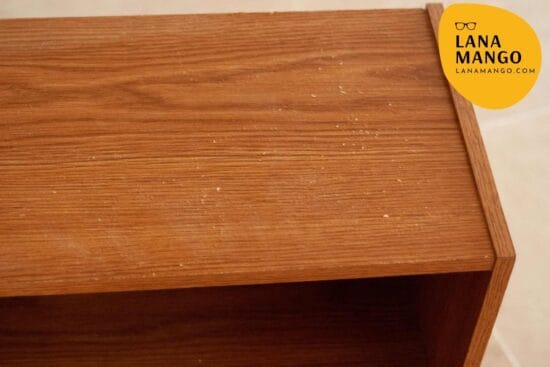
Once joined and the glue dried, I then filled in the holes and gaps with wood filler and gave it a good sanding. I then used fine sandpaper (250) to sand the paper that covers the bookcase so the primer and paint have something to grab to.
Priming
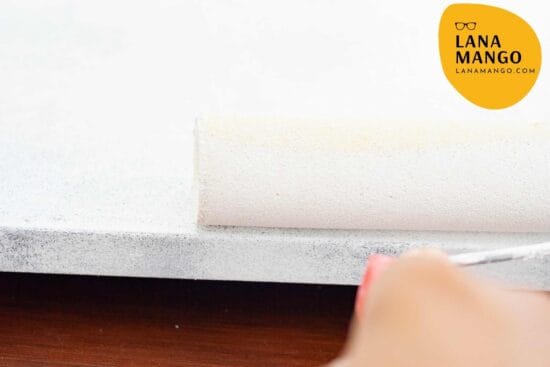
Then I applied a coat of primer with the foam roller. I skipped the second coat of primer because I expected it to grab onto the sanded surface, and mostly because I am lazy. You may want to do a second coat if you want to be extra cautious.
Painting
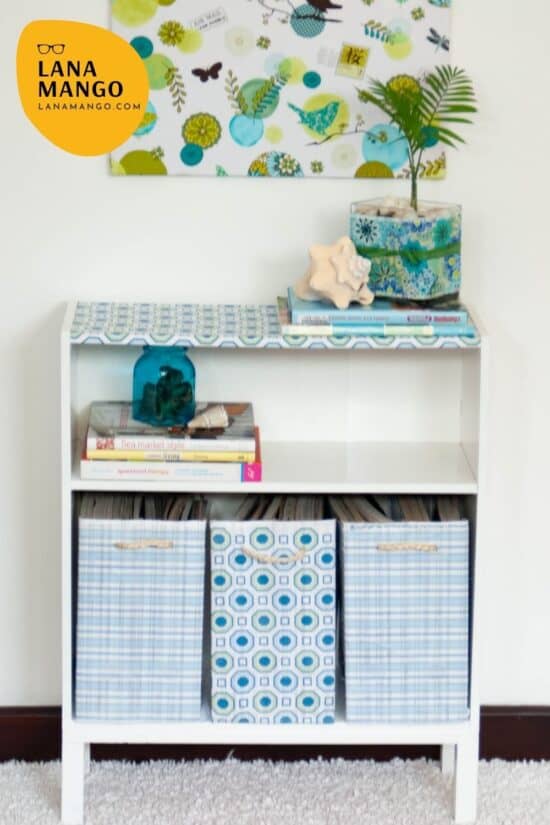
After the three coats of paint applied with the brush, made the little bookcase look pretty decent, I decided to take it up a notch.
I used spray adhesive to attach some nice fabric I had to the top shelf, and then gave it a coat of Hardcoat Mod Podge.
I also attached gliders to the legs to protect the hardwood floor.
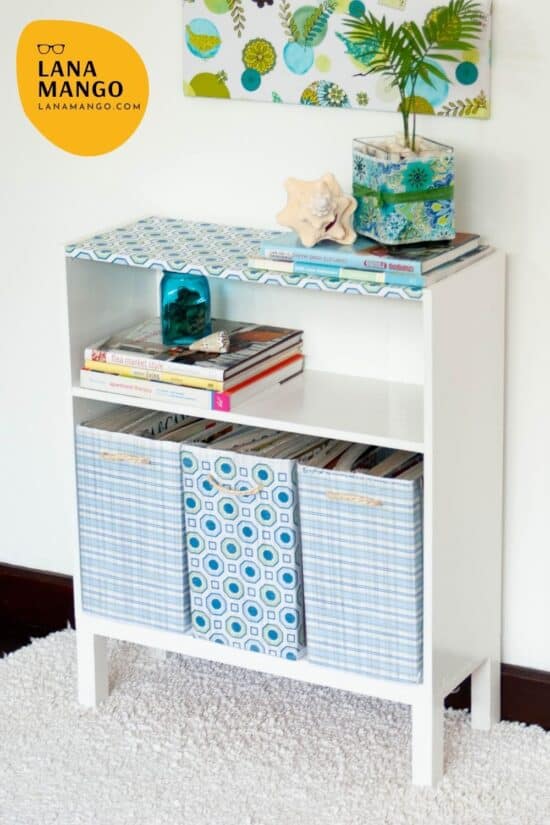
Doesn’t that look a lot better? I love the geometrical patterns and the colors. And then…
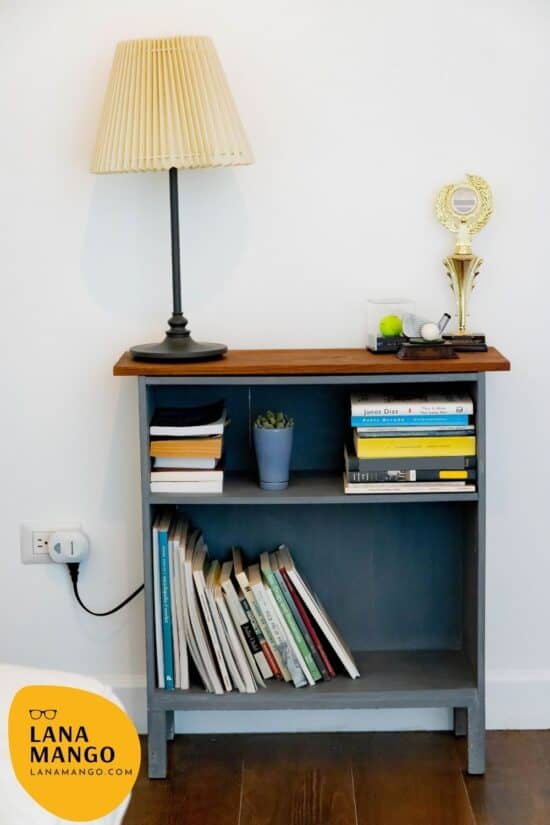
So, we moved again, and I needed a different look for this bookcase to fit in my new room, it now now keeps some favorite books and memorabilia. This is how I did it:
Repainting the bookshelf
Sanding
I ripped off the “Mod Podged” fabric, then gave it a light sanding to prepare it for paint.
Paint with chalk paint
Since the base color was white, it wasn’t necessary (in my opinion) to cover it with primer. If the base color had been darker than the top coat I would have. I use gray chalk paint, and gave it two coats.
Making the top
For the top I used a piece of pine I got precut from the hardware store, which I sanded, and stained. I screwed it with for screws from underneath.
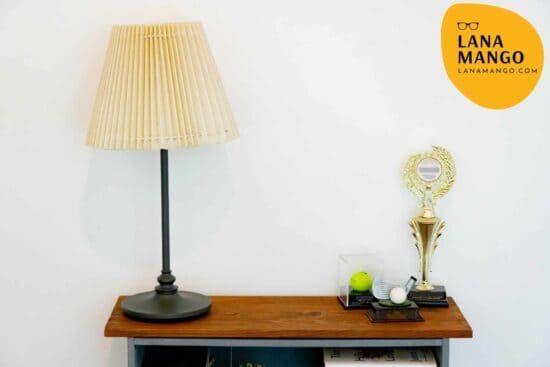
So now you can see, two ways to make that really ugly, cheap-looking bookcase into something that can fit your decor without breaking the bank. What do you think?
Morehand painted bookcase ideas
Looking for more ideas, check these great bookcase makeovers I’ve found:
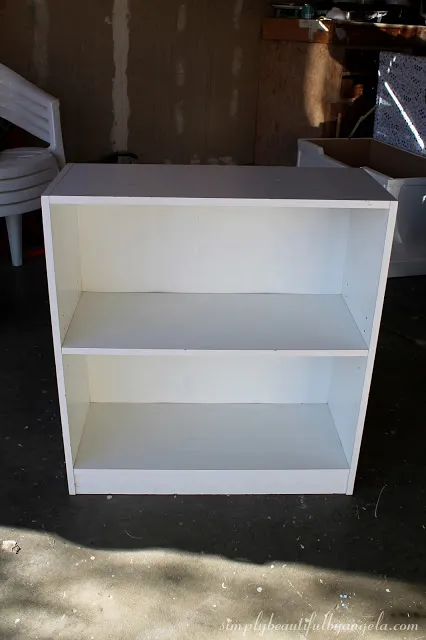
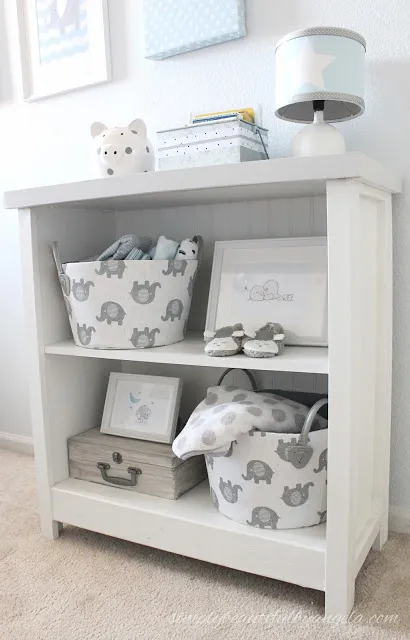
Angela has taken a similar bookcase (this time a white bookshelf) and turned into a beautiful piece by adding trim, legs and a top. That’s a way to make a cheap bookshelf look expensive. It doesn’t even look like the same one!
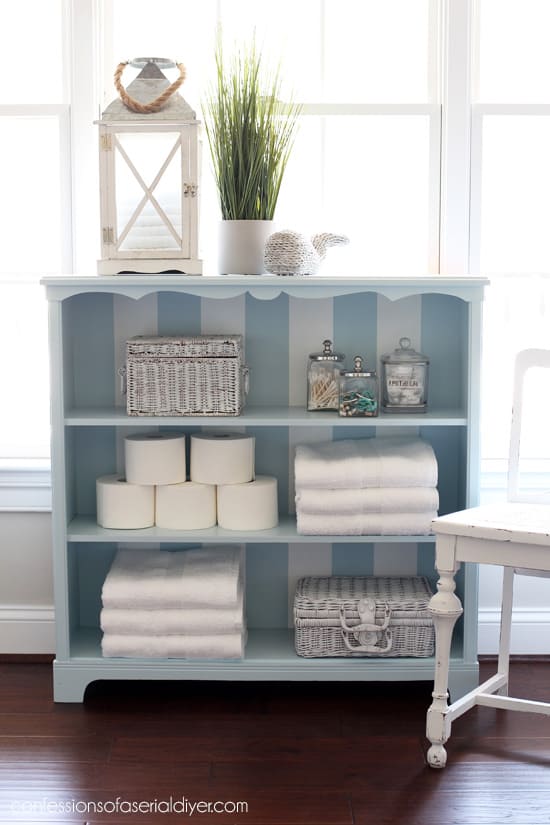
Paint covers a lot of sins, and in this case, a soft powder blue paint with white stripes in the back make this pieces way cuter than the beat up original bookcase. Way to go, Christy!

And finally, some paint, and contact paper breathed some fresh life into these uninspired bookshelves. So much better!


I'm so bloglifting this. I have a few of those little junky bookcases holding some Montessori materials. I think this looks wonderful and definitly gives it a better look. I wanted to share that if you buy some 1/4 wood and use that instead of the original 'cardboard' it'll help LOTS with the wobbly. Out of all the years I have had those things they've never wobbled…they're ugly and beg to be put out of their misery…but they don't wobble. Here soon they'll have a makeover and will stop trying to put a shelf in the light socket. They'll have something to live for! ;)Honey
I just "saved" a bookcase myself. I used wallpaper sample pages to cover the shelves and top of a small bookcase to go in a dorm room.
Oh you are SO inspiring! I currently have a similar bookcase that is well on it's way to the curb….but maybe I should save myself a few bucks and give it an overhaul??? Thanks for sharing! Great job!
I love this! It turned out great –
Gee, thanks everybody. I appreciate the nice comments. Denise, this is laminate, but not "high quality" (read with sarcastic tone) Ikea type laminate. This is like contact paper, it is really, really cheap. To put it in perspective, the paint is probably worth as much as this cost new. It is also a failure of engineering. It was only held by 8 screws, and it was already pretty wobbly. It is now very sturdy.
Just popped over from Better After. Love your makeover. We just redid a tabletop with fabric too. I didn't know about the ModPodge. We put a piece of plexiglass over it to protect it. I'll have to check out the Mod Podge. I'm sure it's much cheaper. 🙂
Wow that turned out so great. It's amazing what you can do with a cabinet like that.
Great job. Was the wood actually "wood"? Looks like it's a laminate. I have a diaper changing table that I want to redo somehow but it's laminate. Any suggestions?
FABULOUS!!!! You have great style and this is such an awesome job!
This is such a cool redo. I wouldn't have thought to add the legs- that alone makes it look soooo much better, not to mention the cute paint and mod-podge! Great job.
Cool a women after my own heart – not scared of the power tools and Mod Podge!
Brilliant transformation! You clever thing!Rachel x
Thanks! This was something that up to the very last moment I didn't believe would work, but I hate throwing away things if I can squeeze one last drop of usefulness out of them. It turned out surprisingly well.
You did a wonderful job! Love the different blues and greens against white (I have the same colors at my home).Can't wait to hear about the magazine boxes. 🙂
I´m very curious about the mags boxes because I have many to organize!And the bookcase it´s perfect!! I love the colours you use!
Absolutely! What a great transformation.
Oh wow..you did save it! Nice work. Love your colours.Sinead