Ikea Dresser Makeover – How to Rescue a Boring Dresser on the Cheap
My best Ikea hack so far: Transforming an Ikea Rast dresser to a cute dresser for a kid. It went from a piece of furniture you wouldn’t look twice at to something special.
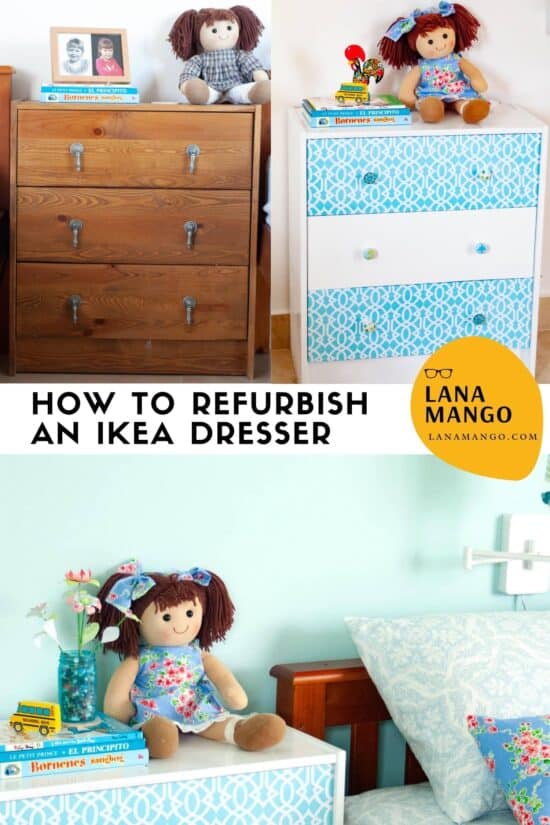
This thing has been around the block a few times, and suffered many an indignity, starting with the bland piece of cheap Scandinavian furniture it started life as.
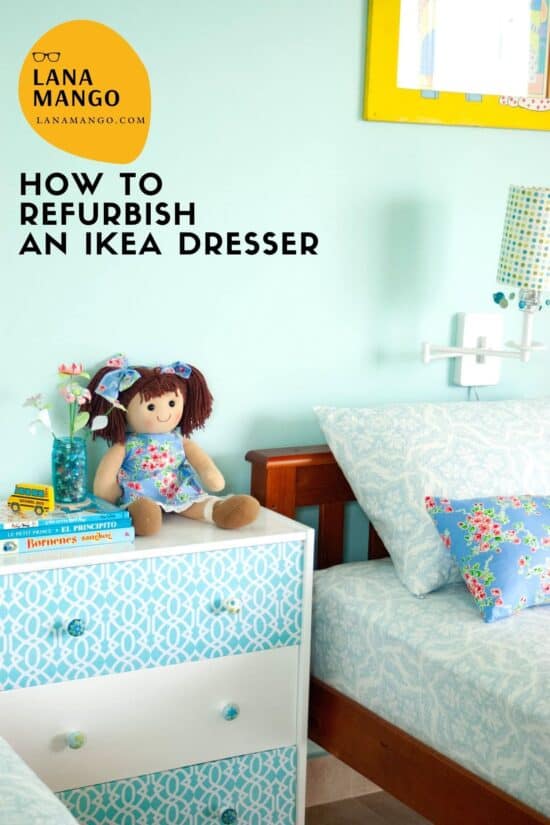
This is the Rast dresser from Ikea that I hand sanded, stained and waxed. I also replaced the knobs. I bought two of these on eBay last year (just before we moved), which I stained a dark color and then wanted to change.
Here’s how I did it
Refurbishing Ikea Rast step by step
1. Sanding
I sanded the previous cot of stain and finish as much as I could, enough to get most of the bare wood uncovered.
2. Shellacking and priming
From experience, I can tell you that Ikea wood products bleed like crazy. It would be even more so with a previously stained piece, so to block it from bleeding, I gave it a couple of coats of sprayed shellac all over. I then rolled in primer whenever it would be painted later.
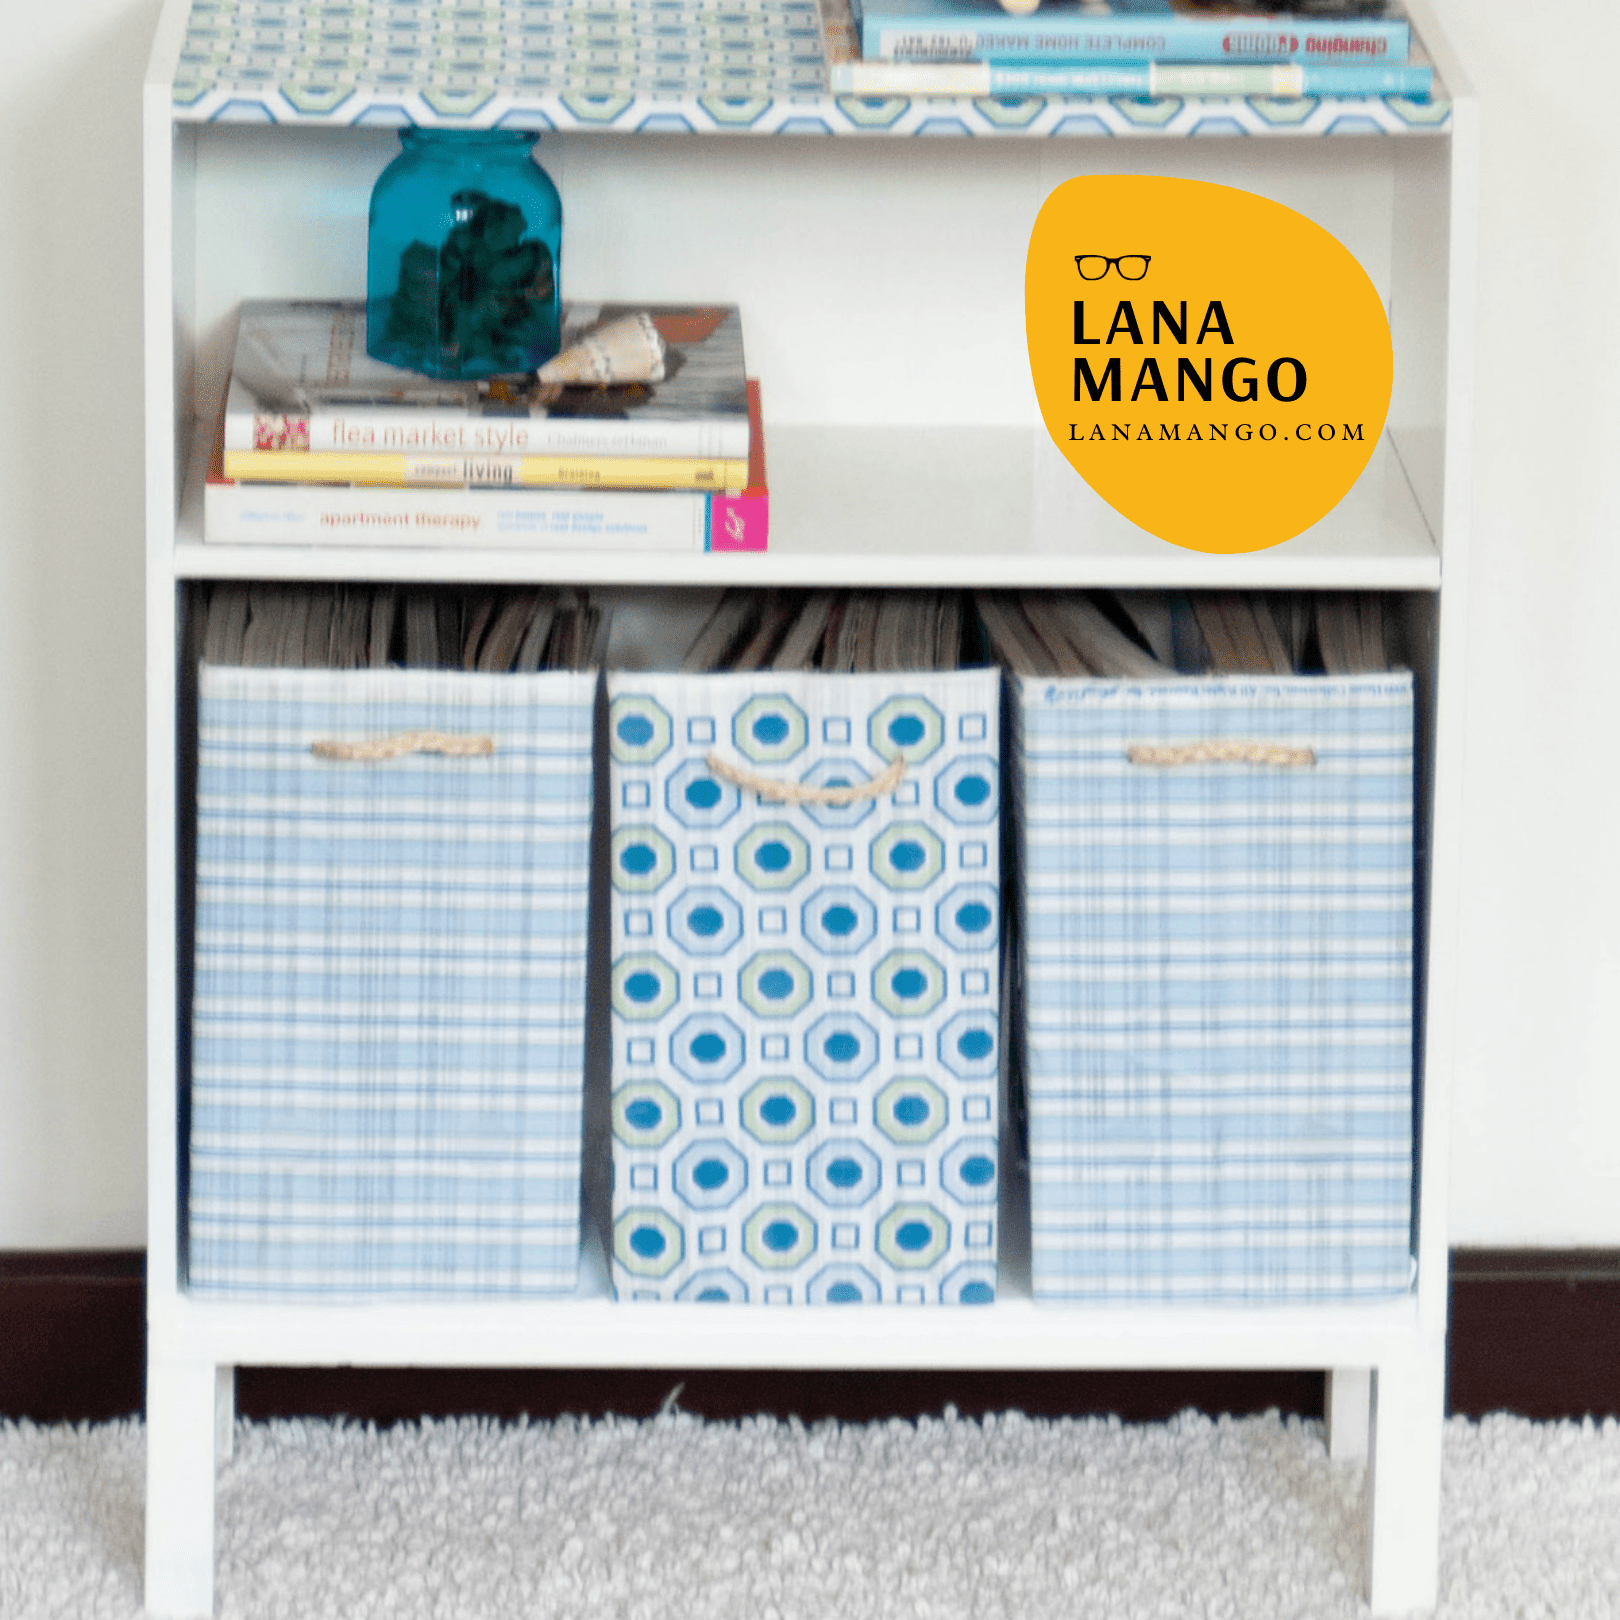
3. Painting and covering drawers
I then spray-painted it with 2 coats of primer, 4 coats of white, and one clear lacquer. I sanded with 380 sandpaper in between coats, only so slightly so the next coat had something to grab on to. I also sanded and painted one of the drawers and the drawer pulls.
After giving them a light sanding, enough to take the shine off, I gave the other two drawers two coats of primer so the red wouldn’t show through the fabric. Using Mod Podge Hard Coat (Amazon affiliate link), I covered two of the drawers with fabric. I also covered the top of the knobs with similarly-colored fabrics.
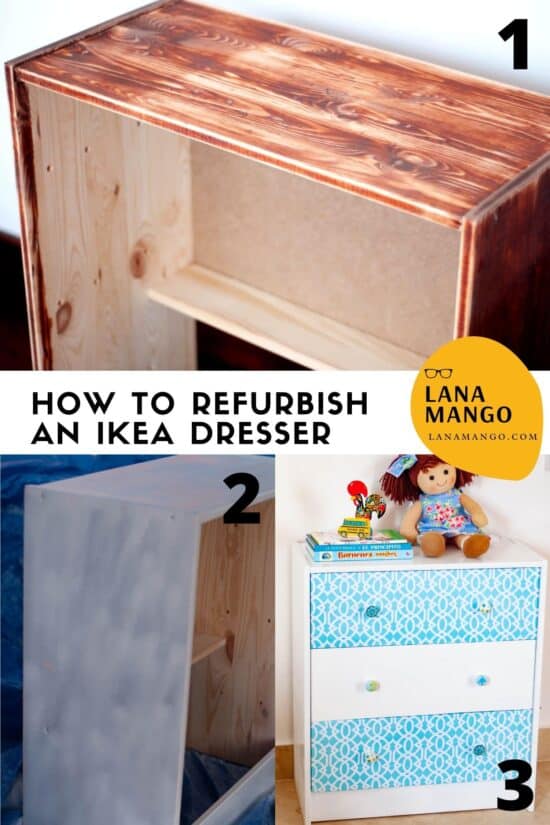
I didn’t cover all three of the drawers because it would have been just too much. I like the separation between the blue drawers.
Now, if you too have an Ikea dresser that you’d like to refurbish, and are looking for more inspiration, I’ve put together these others for inspiration:
Products you’ll need
Amazon affiliate links.
Ikea dresser makeover, no carpentry
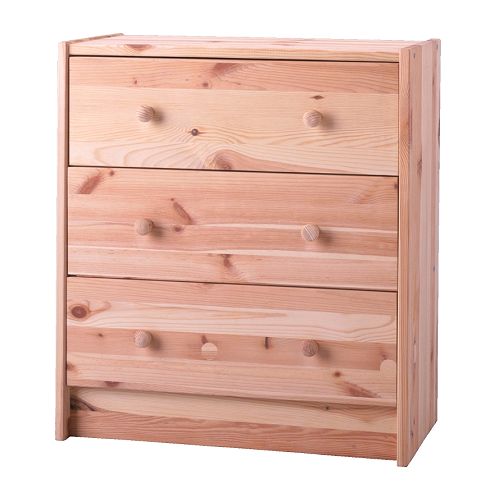
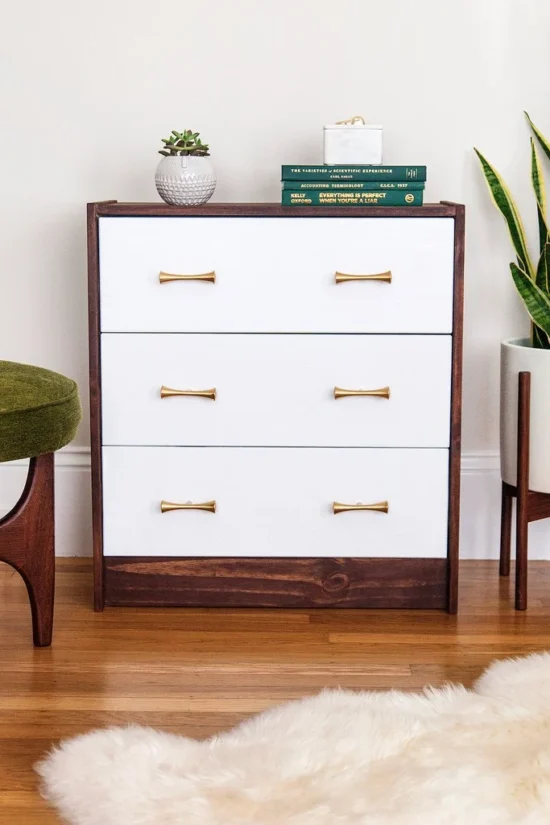
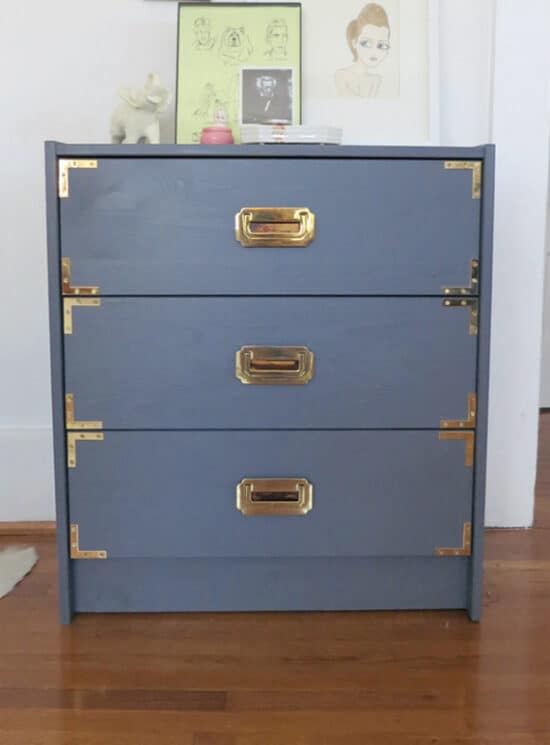
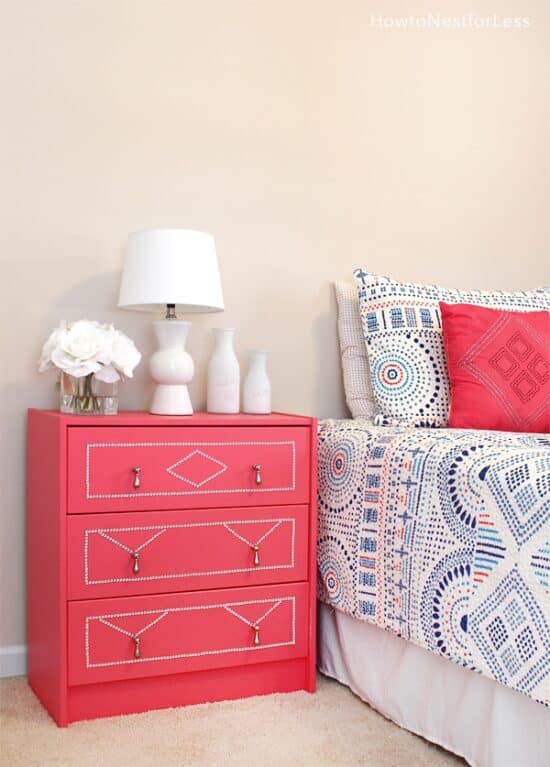
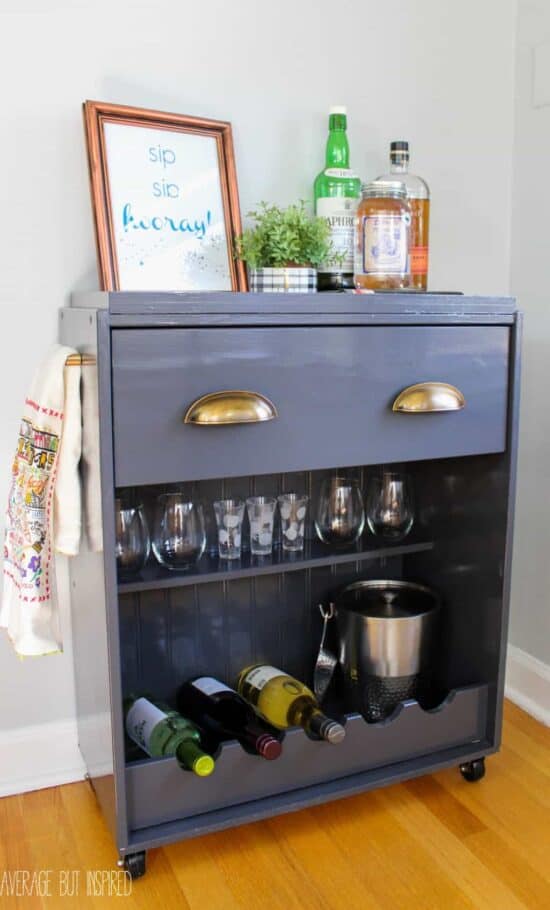
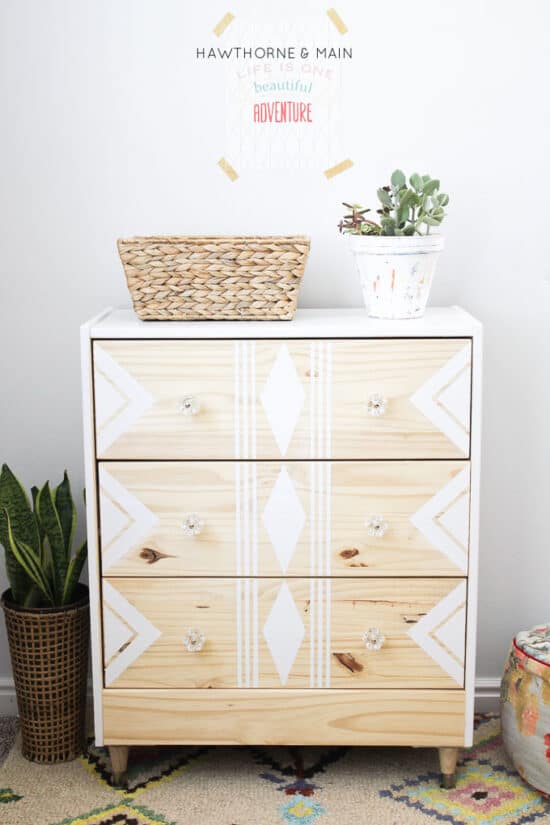
| Ikea Rast original product | Dark stain, white drawers, gold pulls | Painted, new hardware | Painted fuchsia, bejeweled fronts | Painted, turned into a bar | Stenciled |
So what’s your verdict? Worth the trouble?